This tutorial is about designing and finally making an electrical junction box cap.
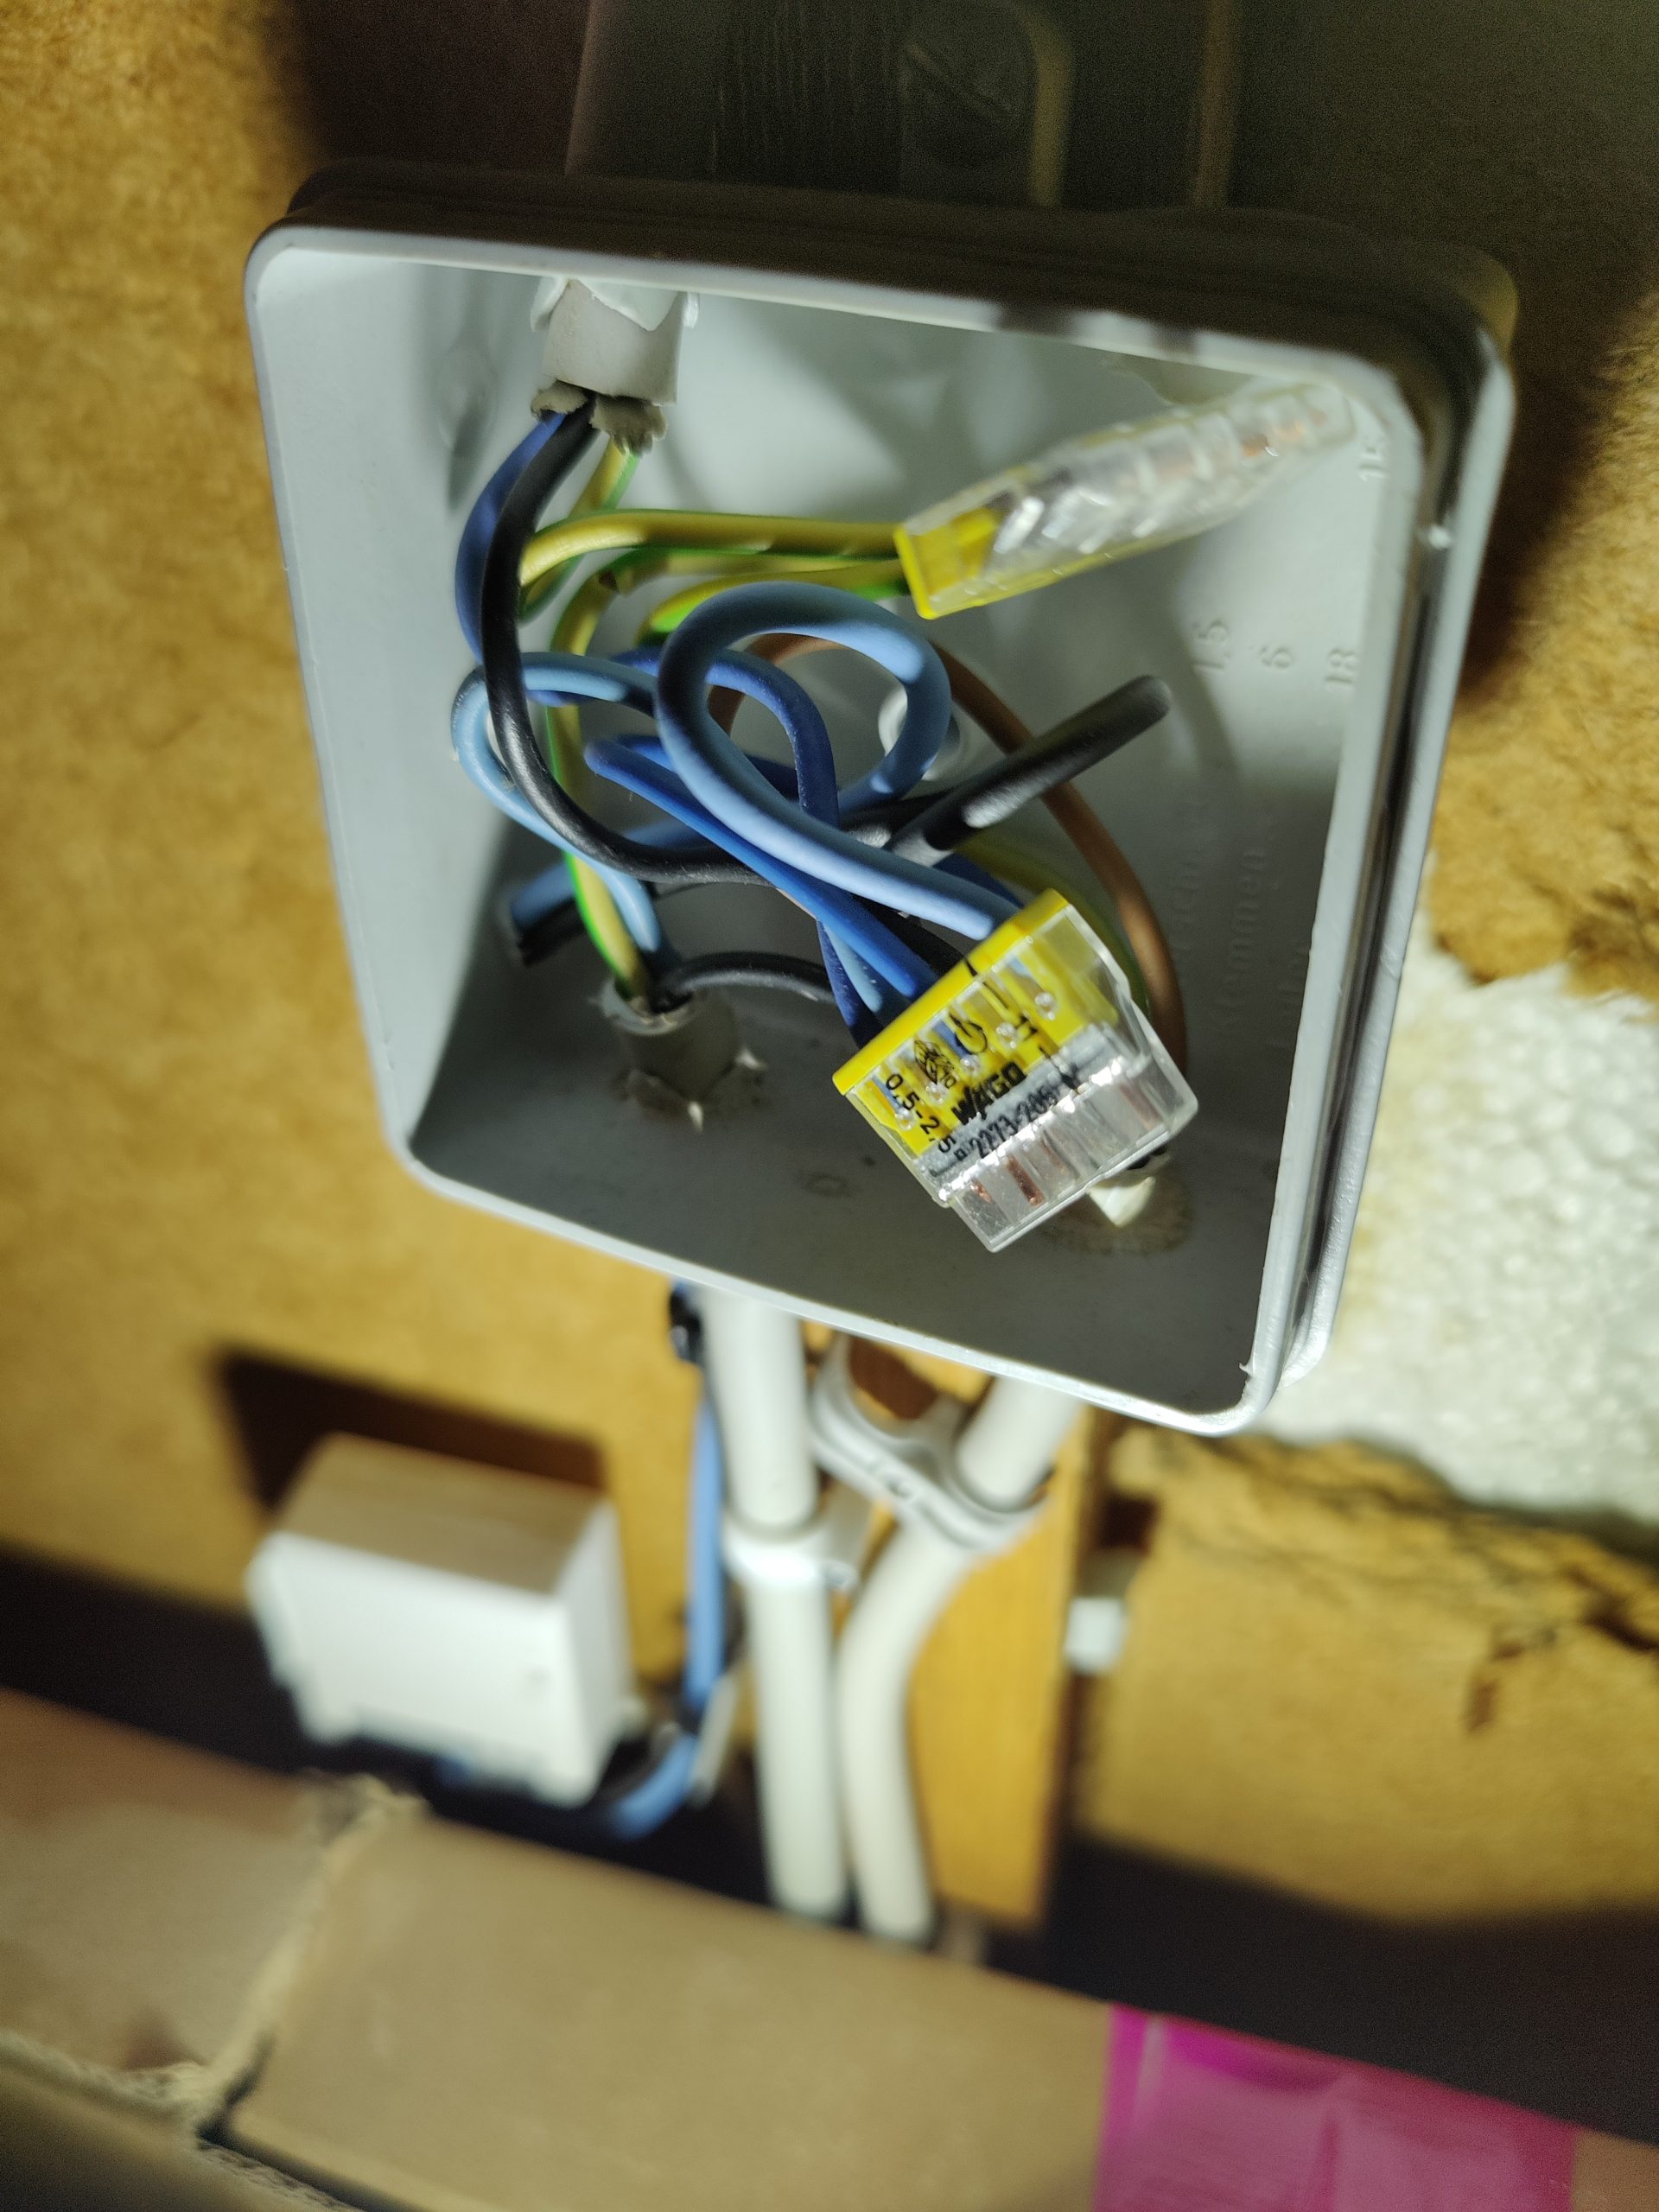
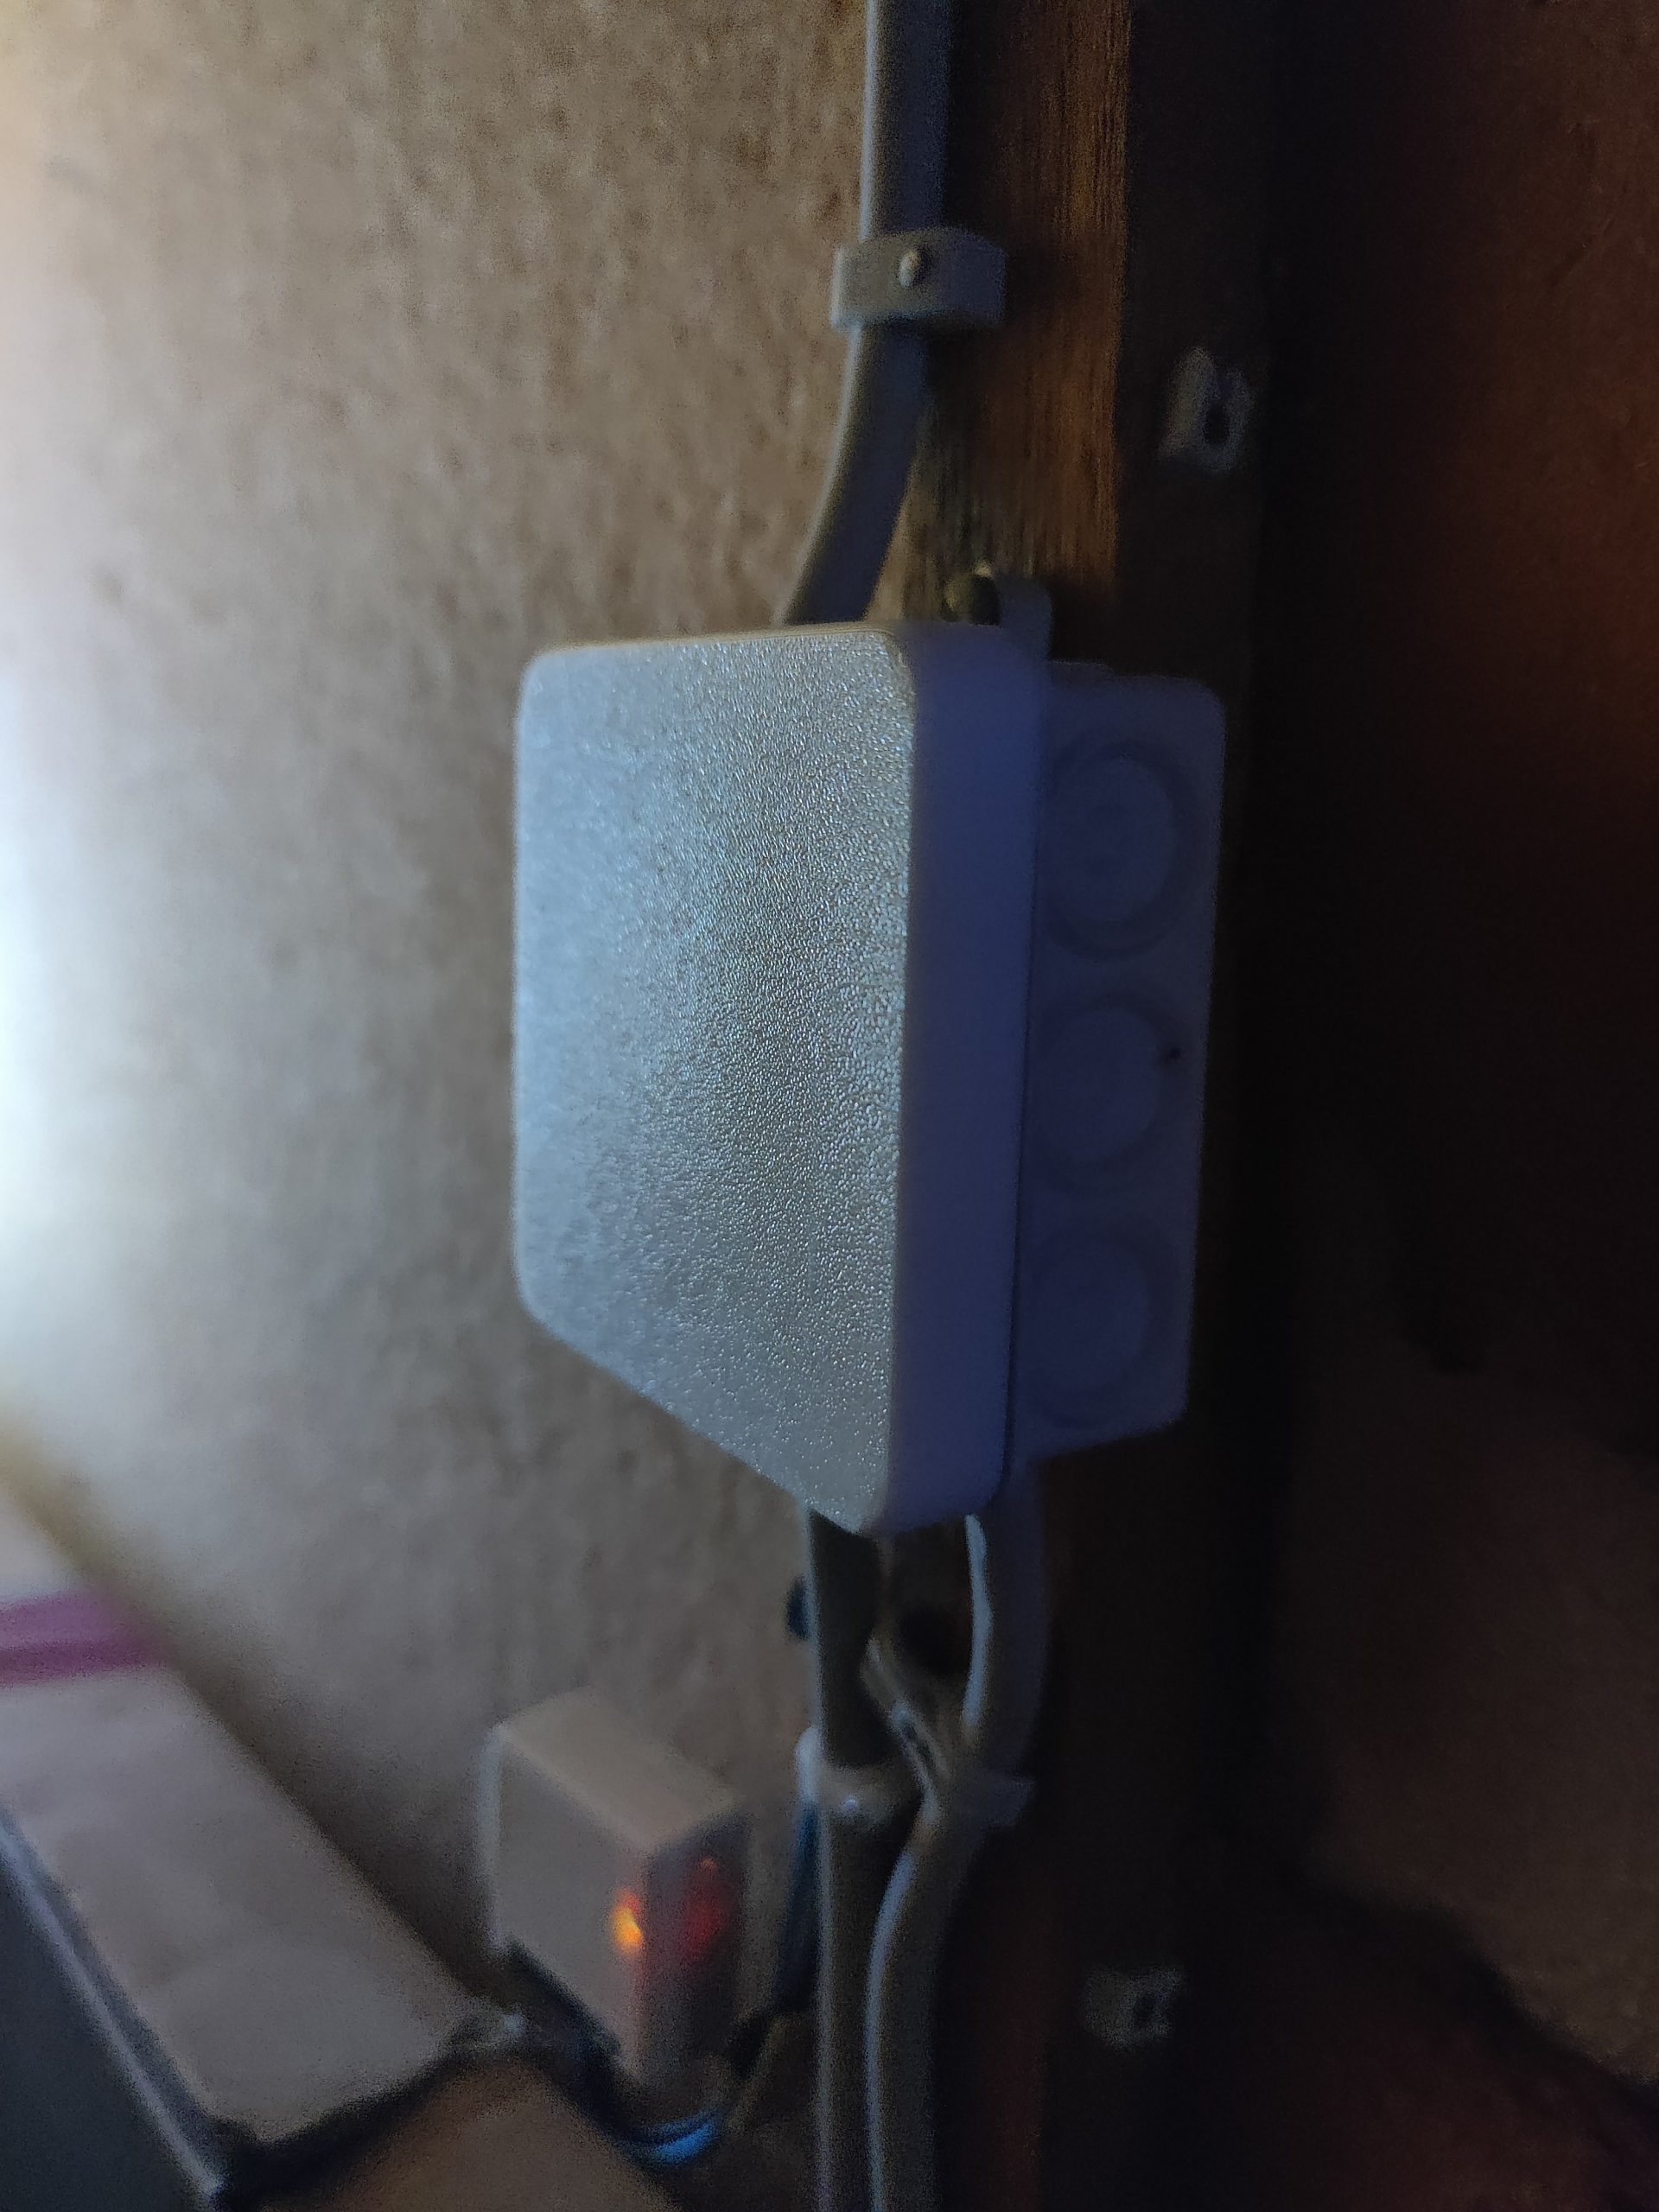
A few weeks ago, I installed a lamp in the storage room of our house to make it easier to find things here. I also made sure that the whole thing can be controlled via Home Assistant and installed a SONOFF ZBMINI ZigBee DIY Smart Switch (paid affiliate link*). When inspecting the existing power supply line, I noticed that the cover was missing from an electrical junction box.
Since I own at least one 3D printer (Bambu A1 + Prusa i3 Mk2.5 MMA) and a junction box without cover is quite dangerous, I simply designed and printed a new cap.
What follows are the steps I took to do so.
Modelling the electrical junction box cap in Fusion360
In summary, this is how I proceeded in Fusion360, to create the cap:
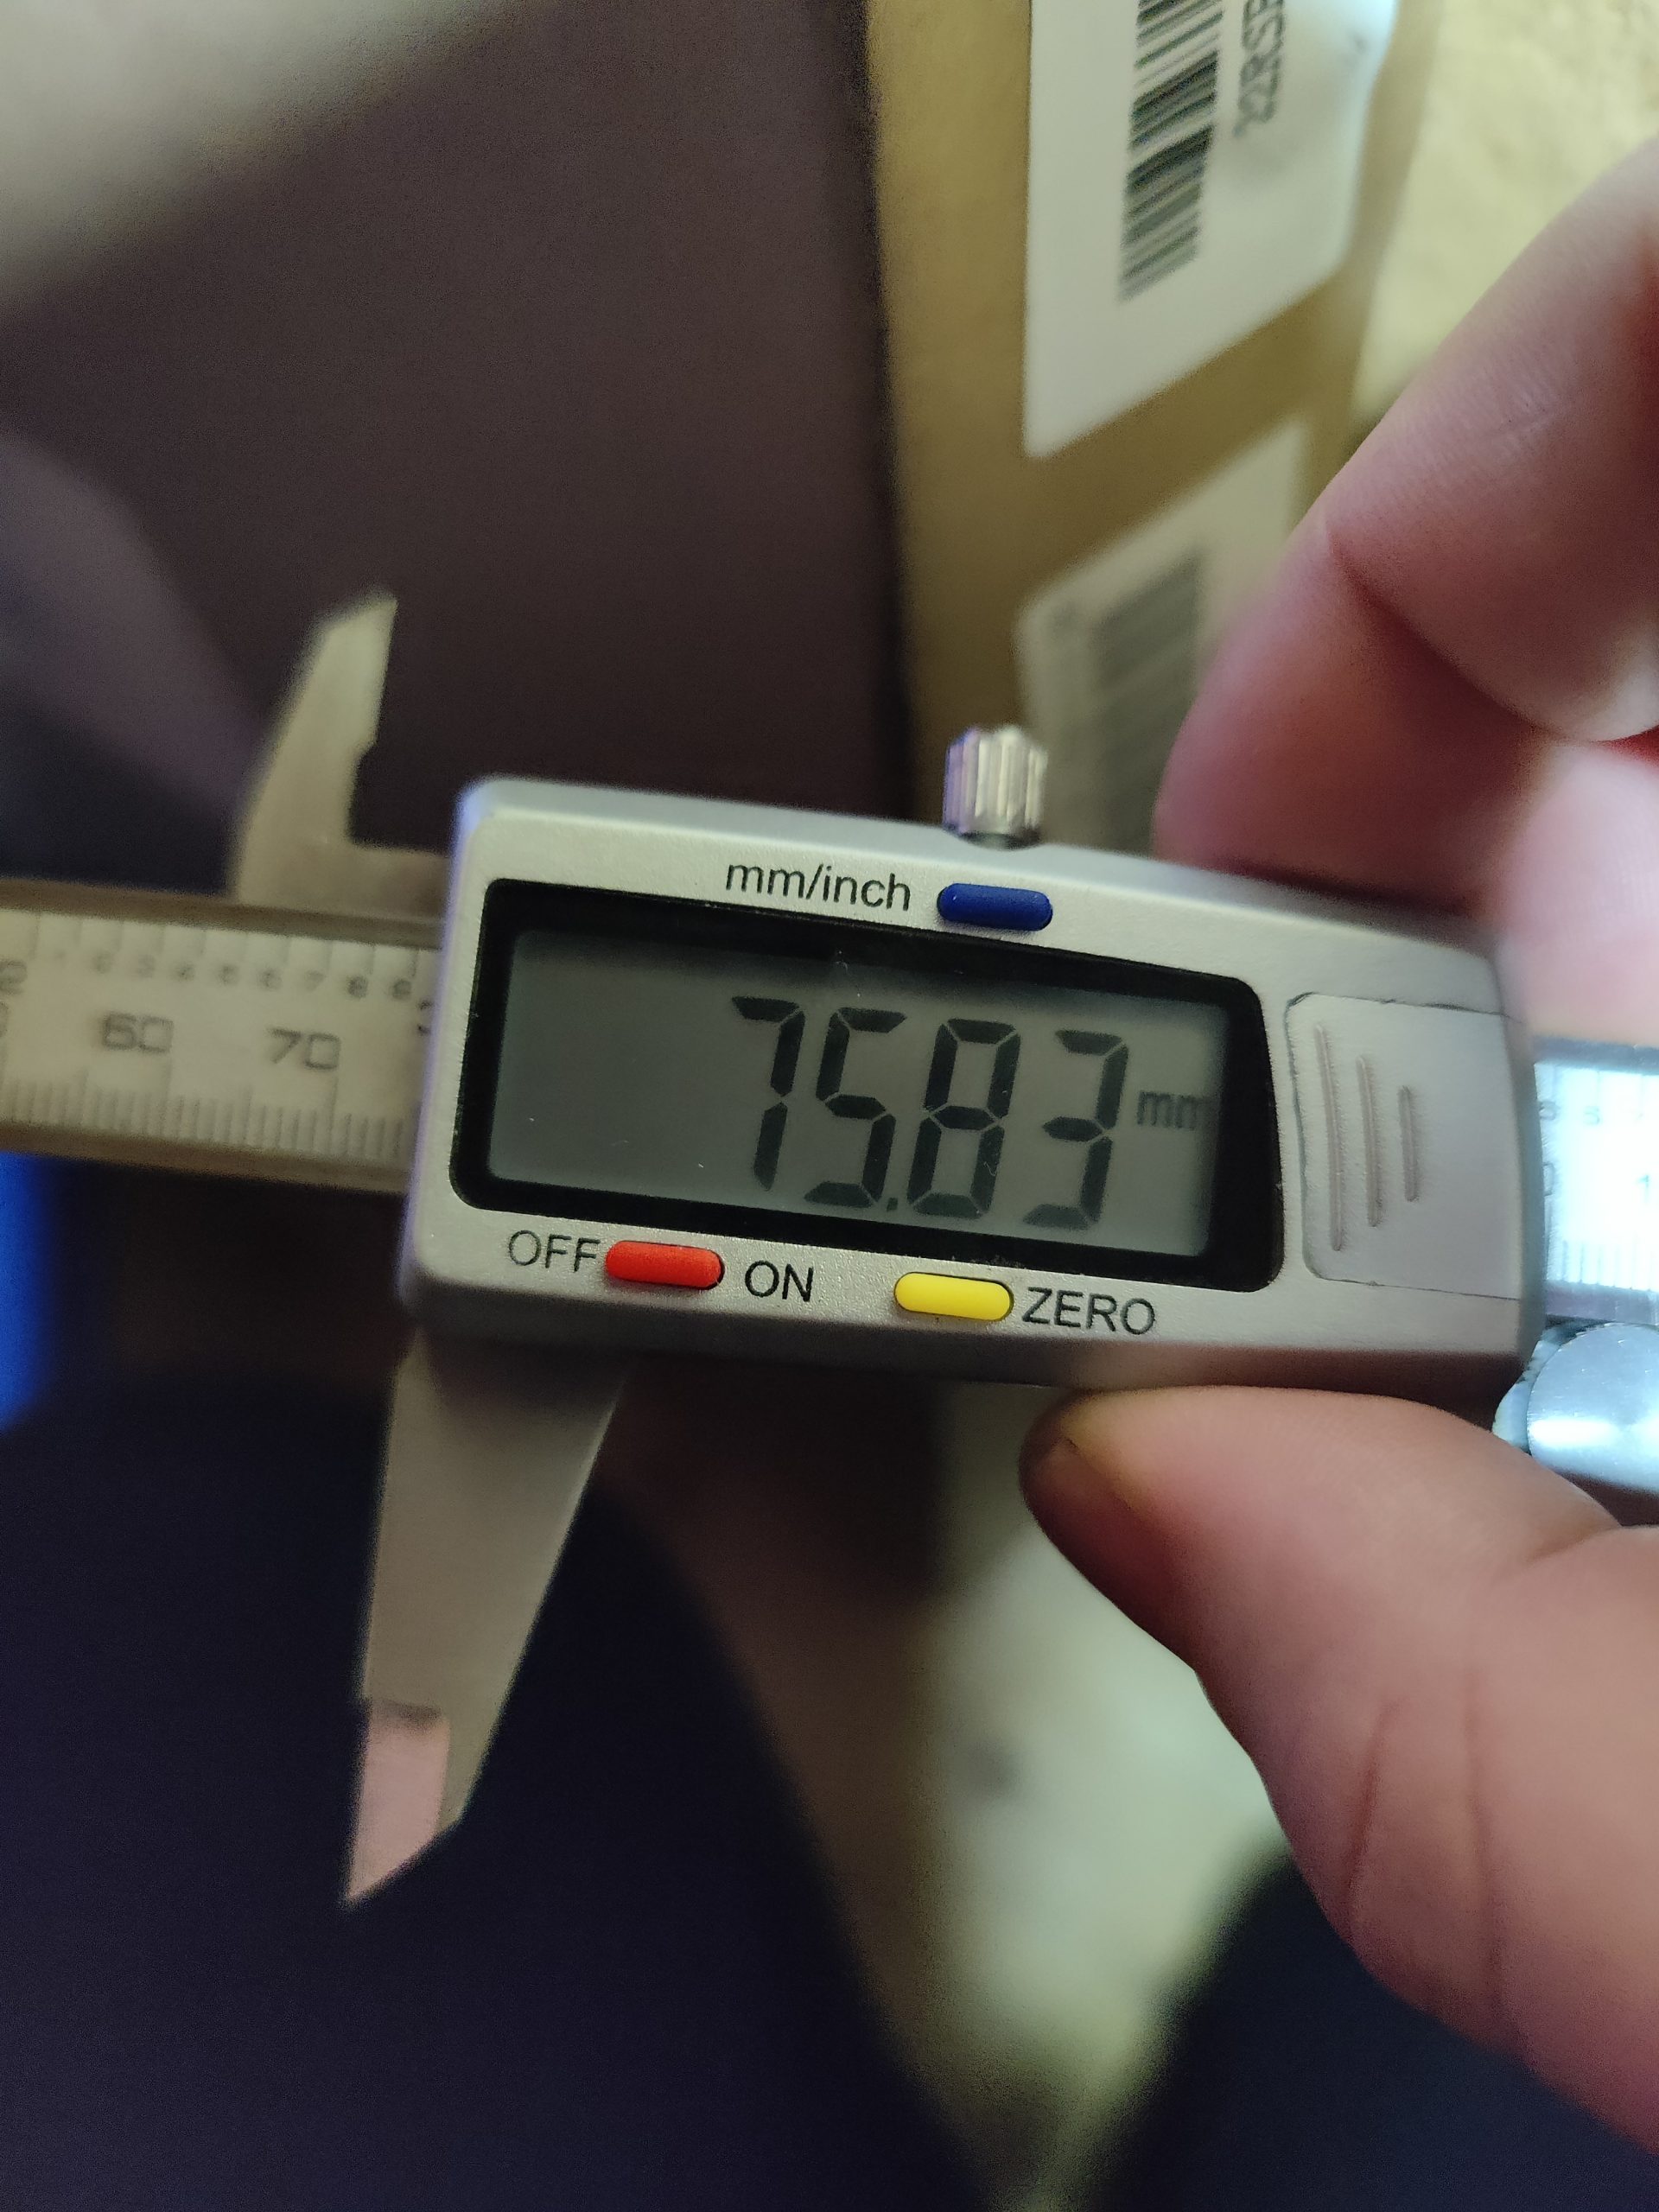
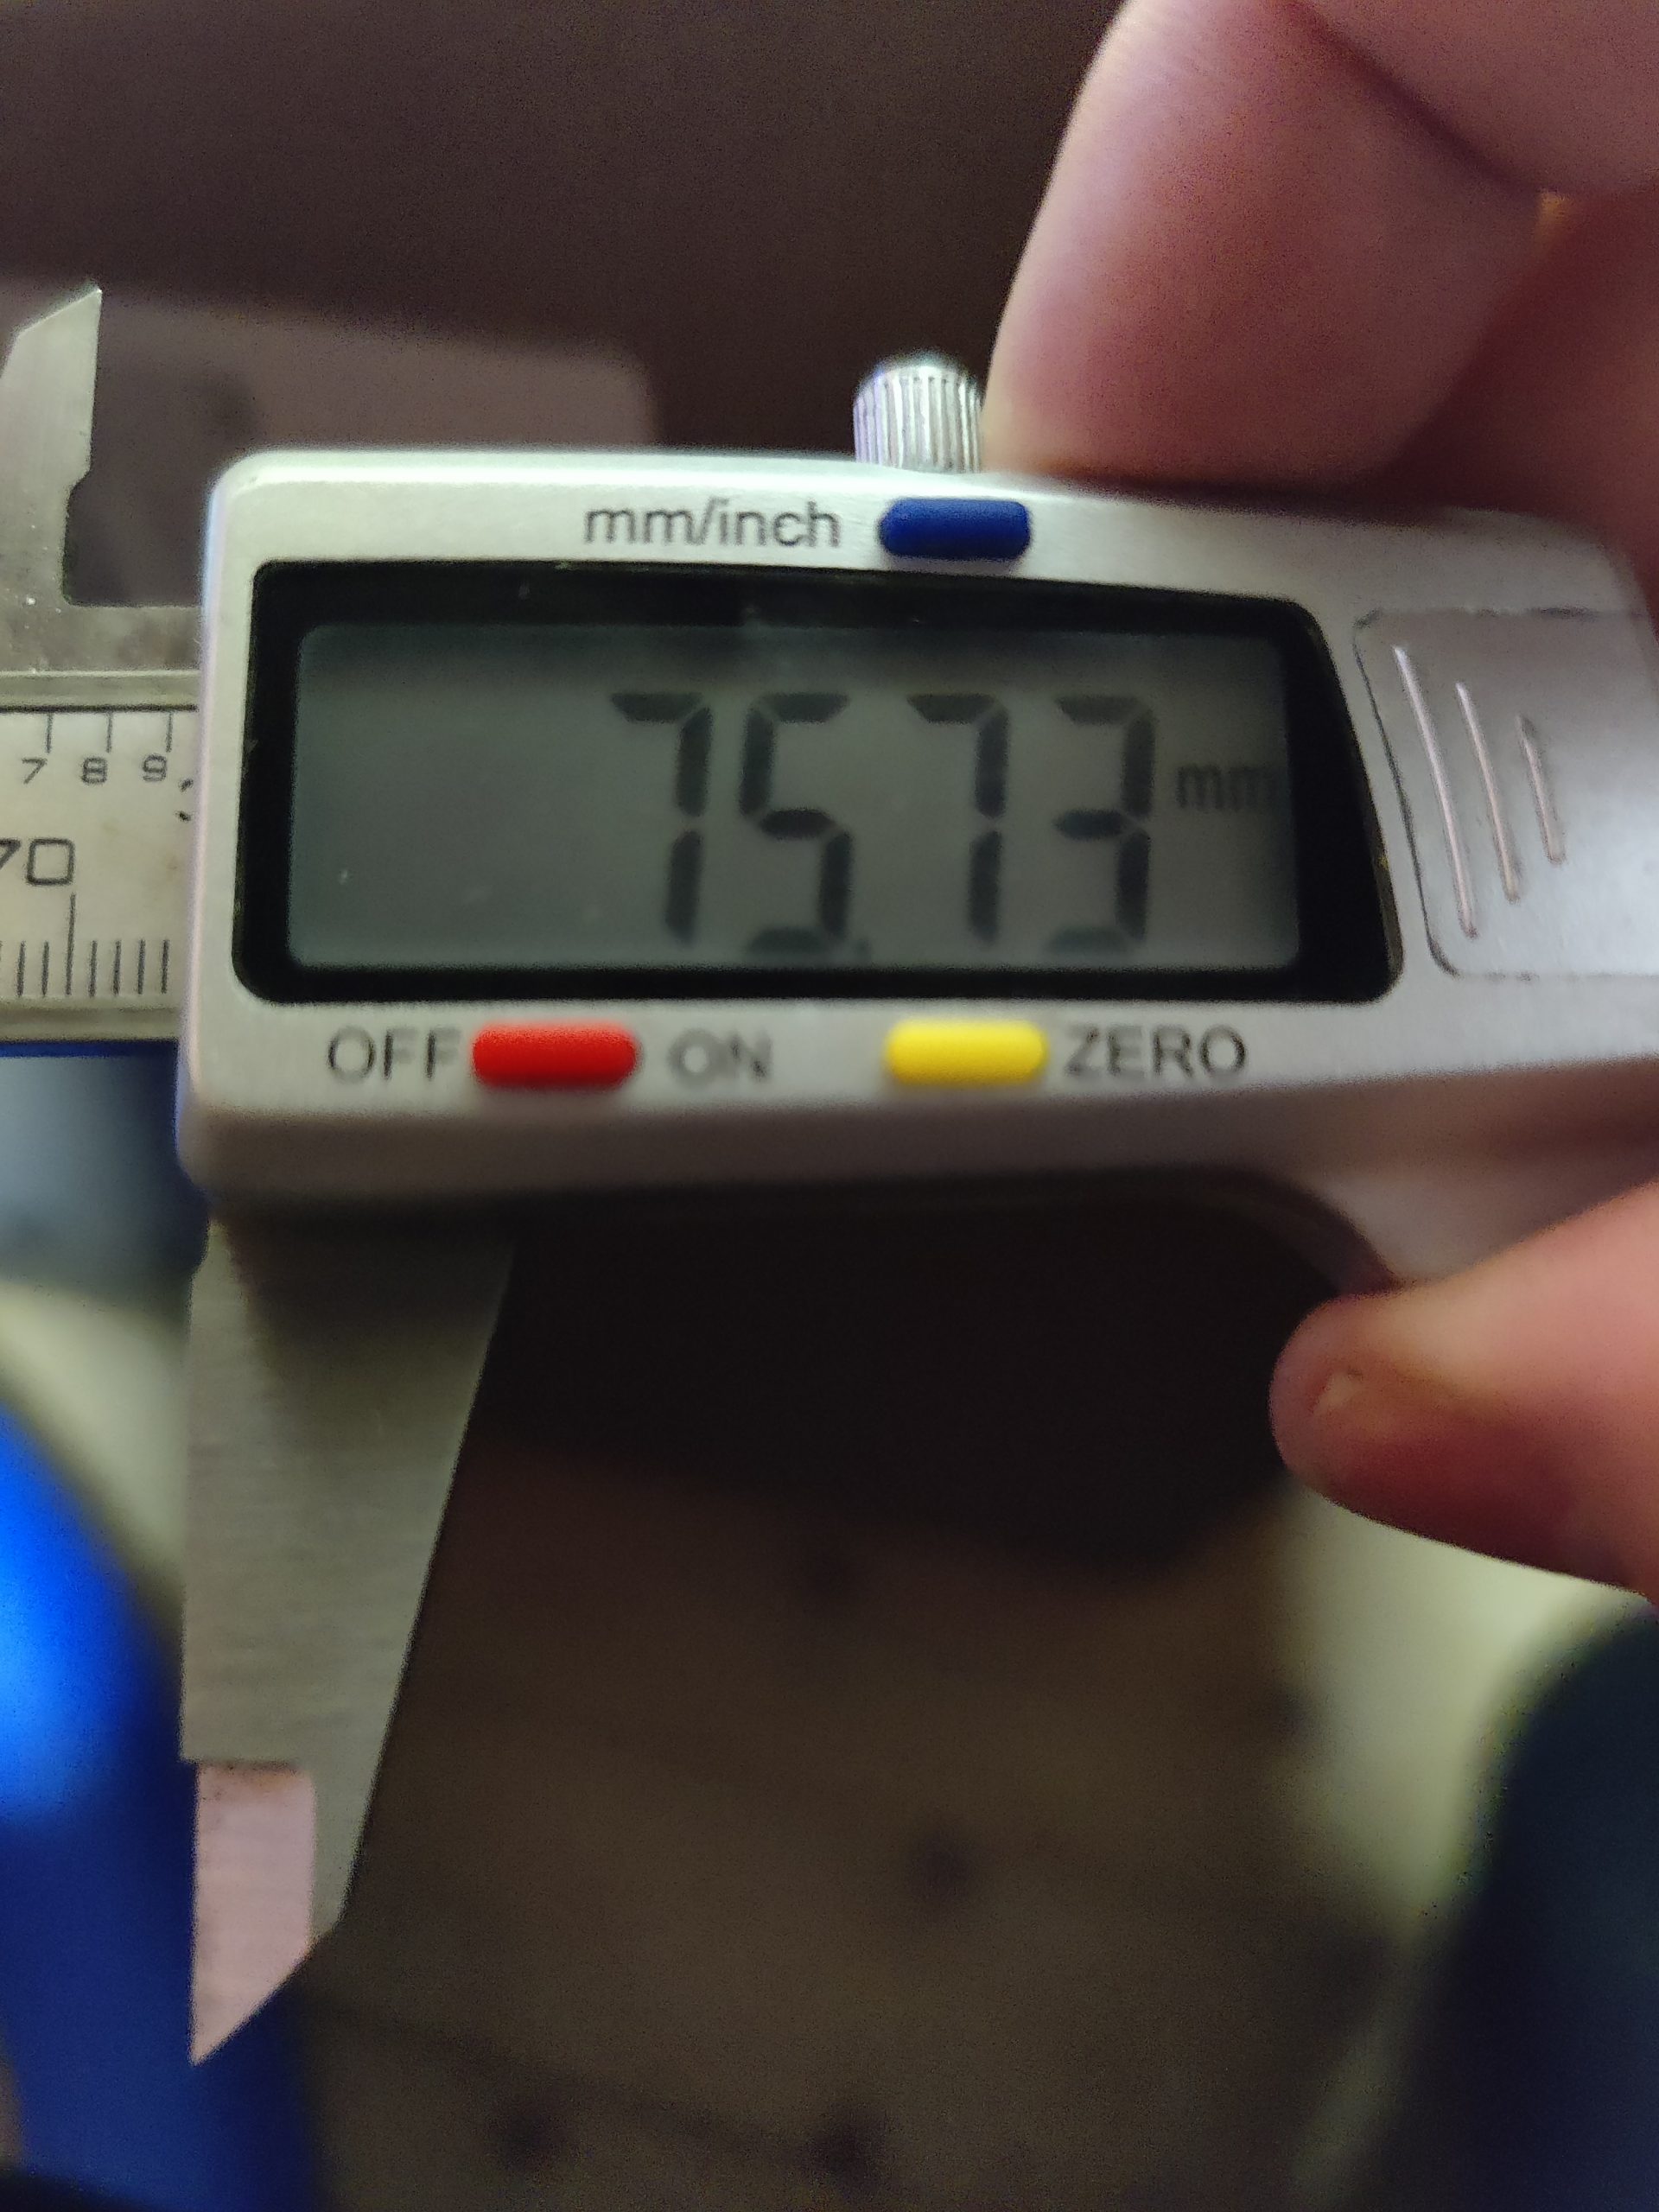
- Measuring the junction box dimensions. I used a caliper to obtain relatively accurate measurements.
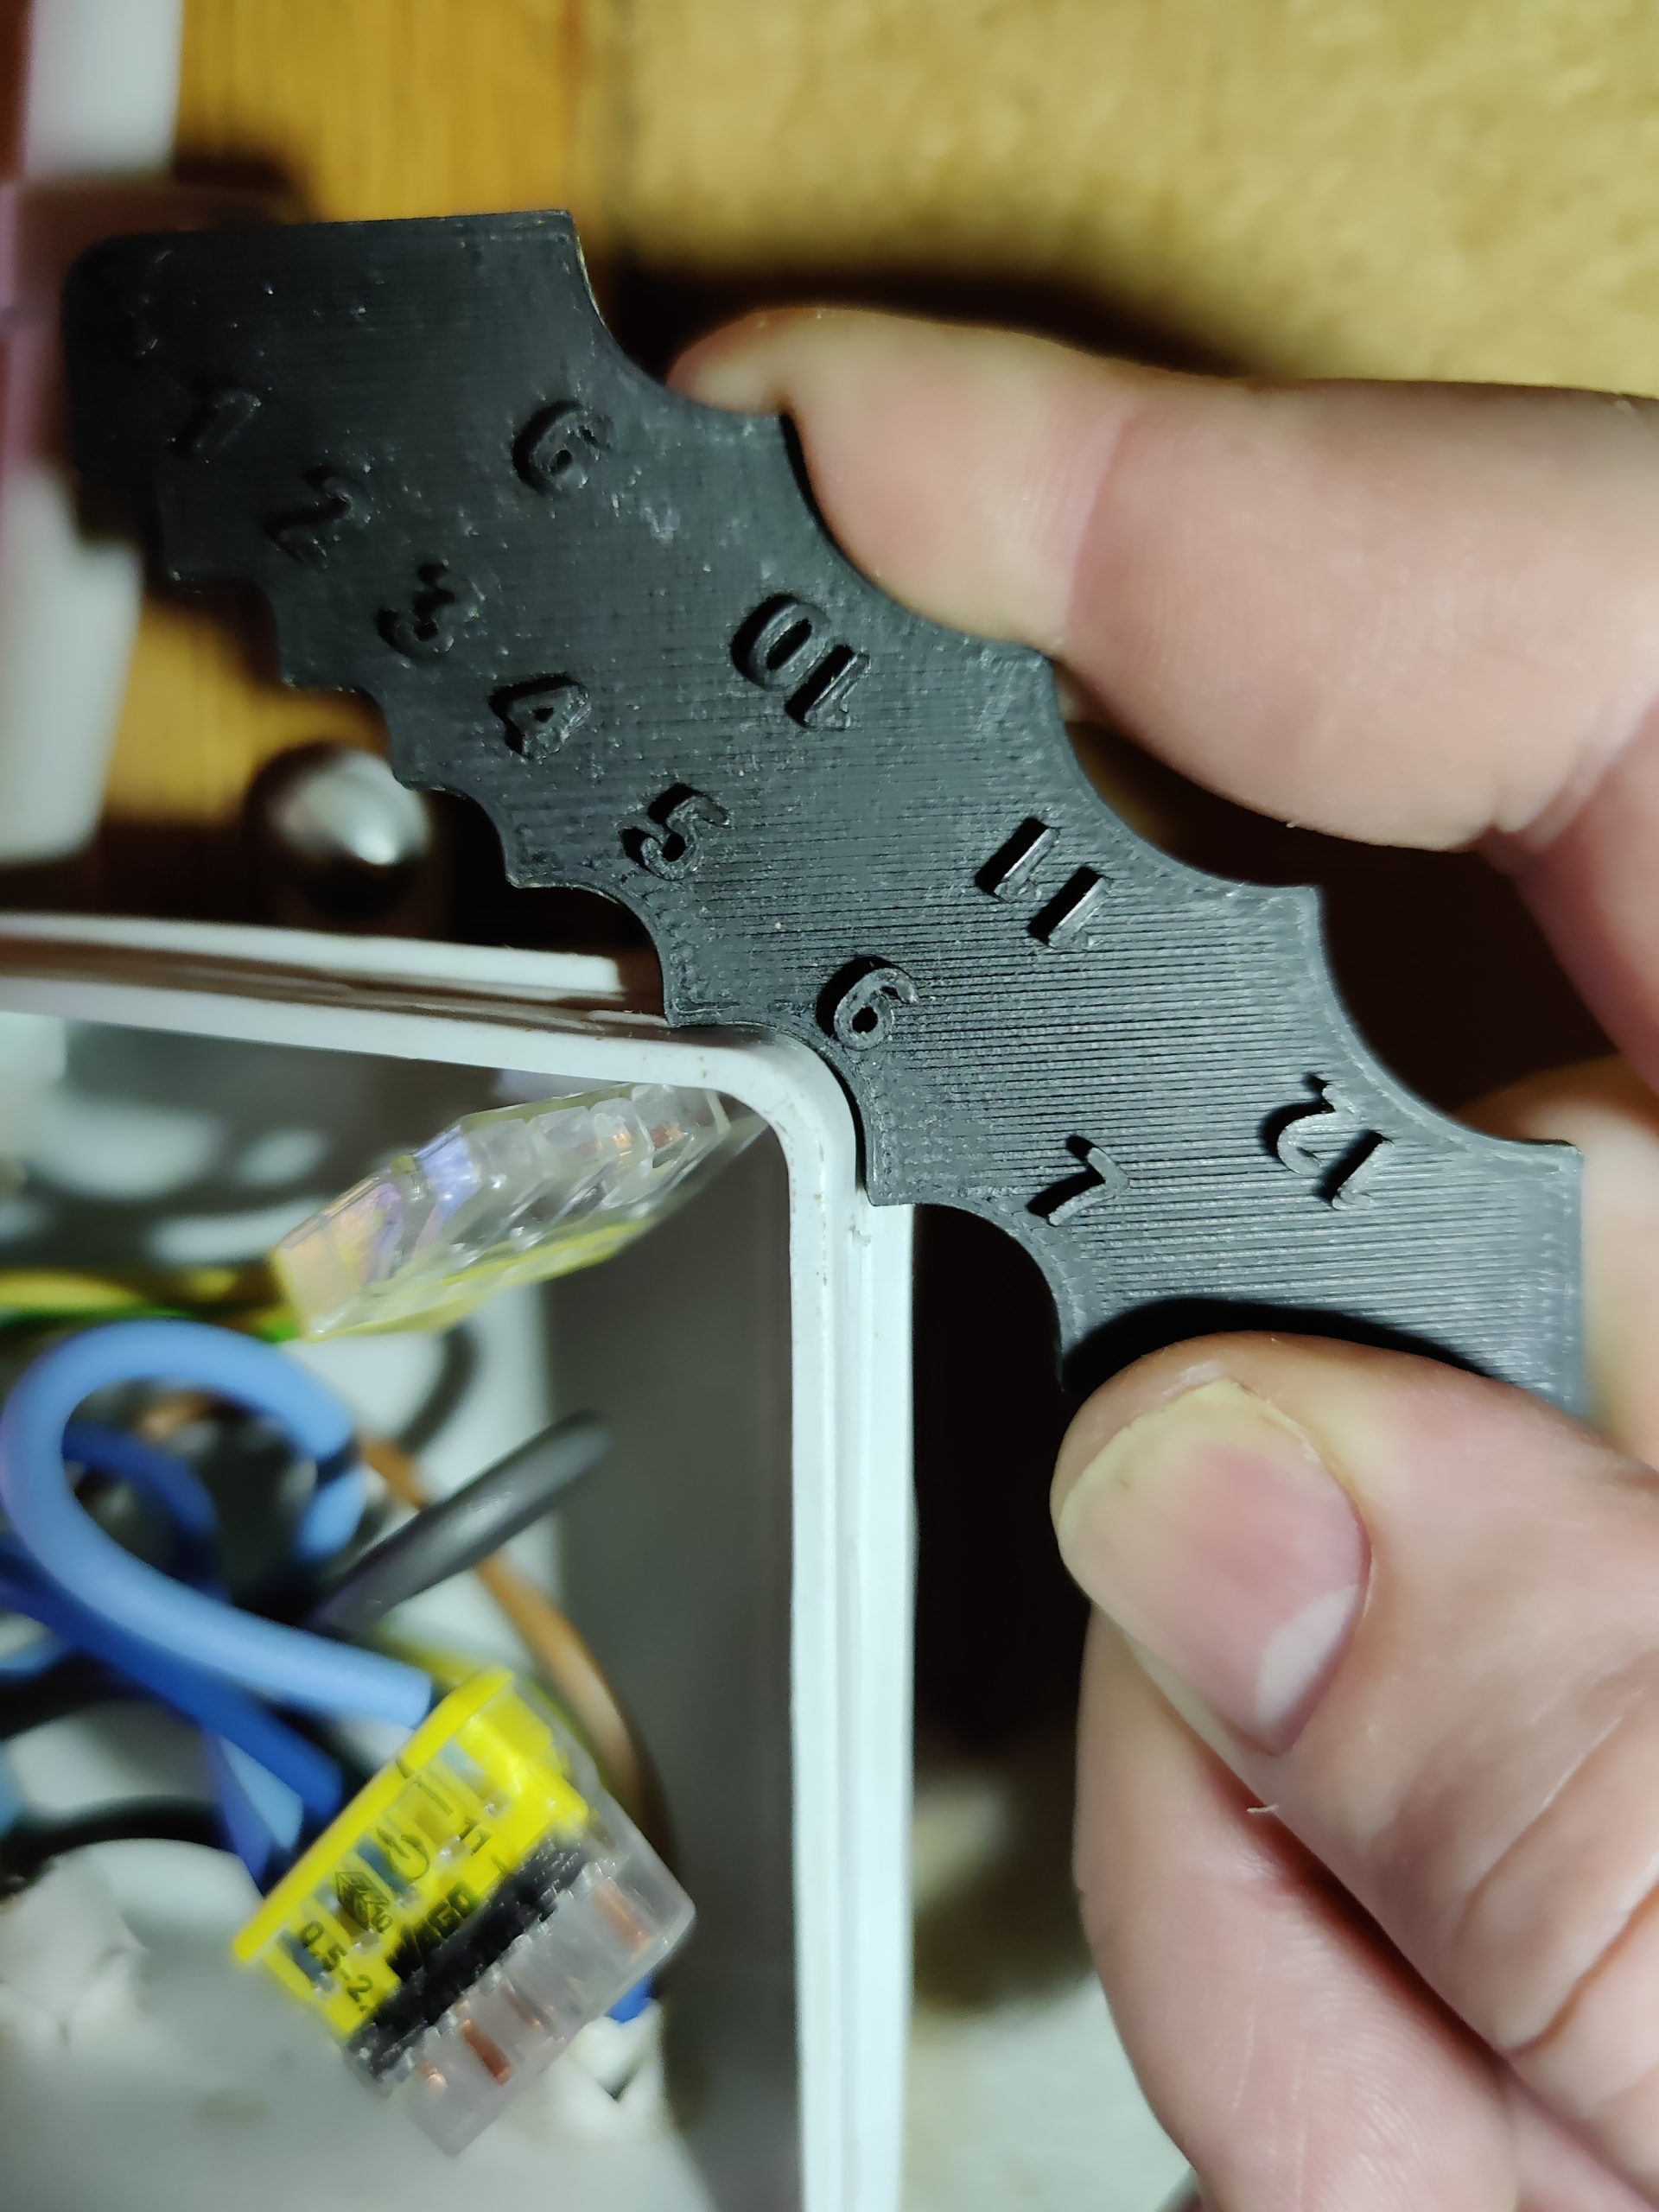
To determine the radius of the corners I used a printed fillet gauge.
- Create a Sketch for the cap:
- I used a square for the inner cap dimensions.
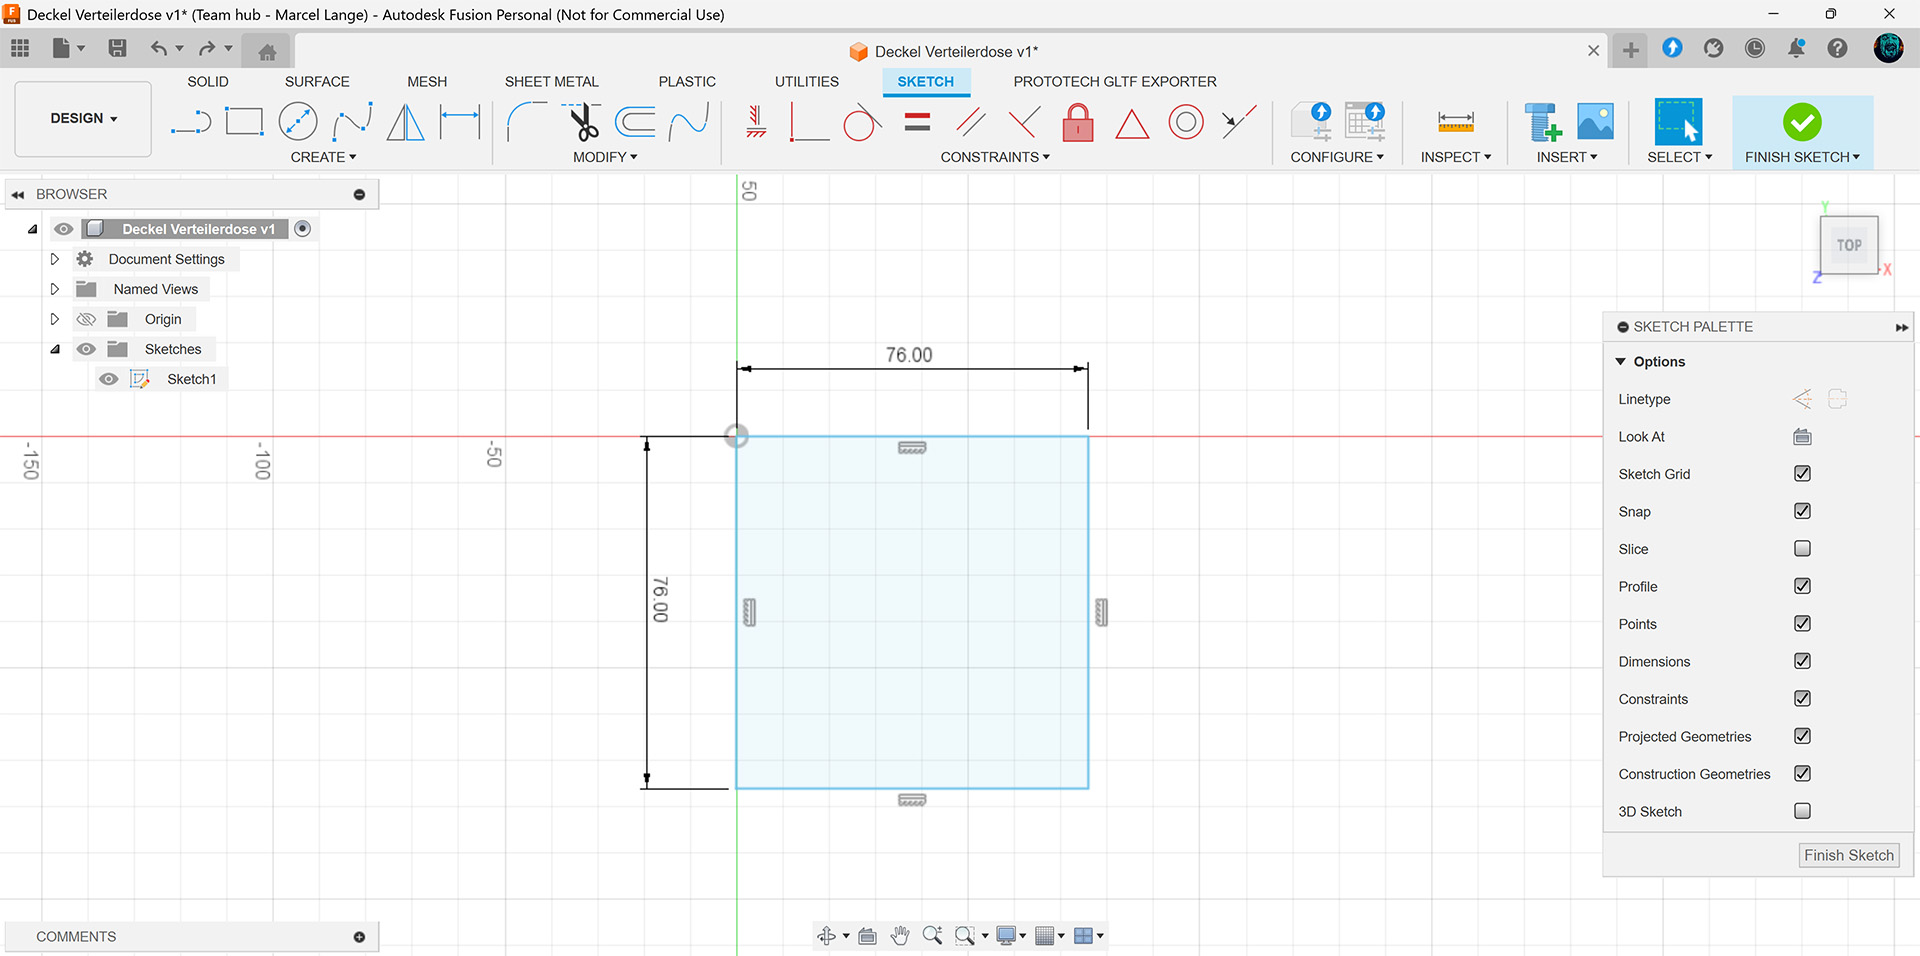
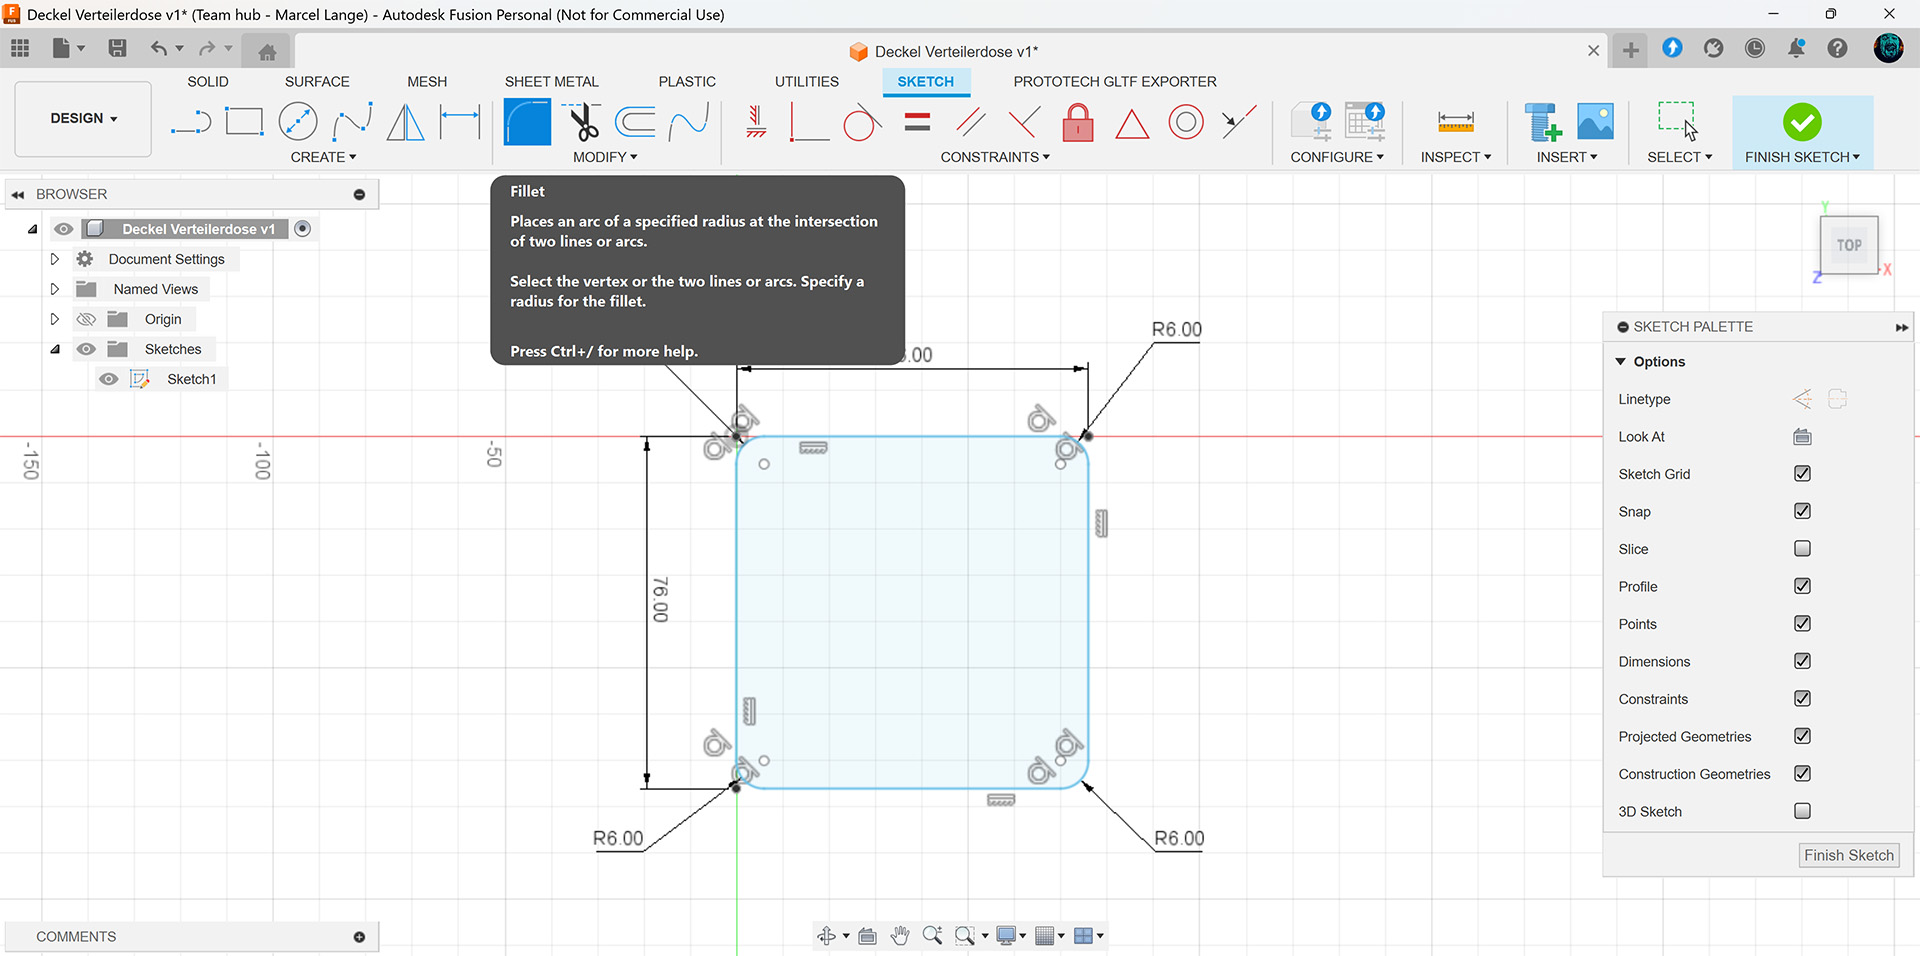
- The I used the fillet tool to create the inner rounded corners with the determined radius of 6mm.
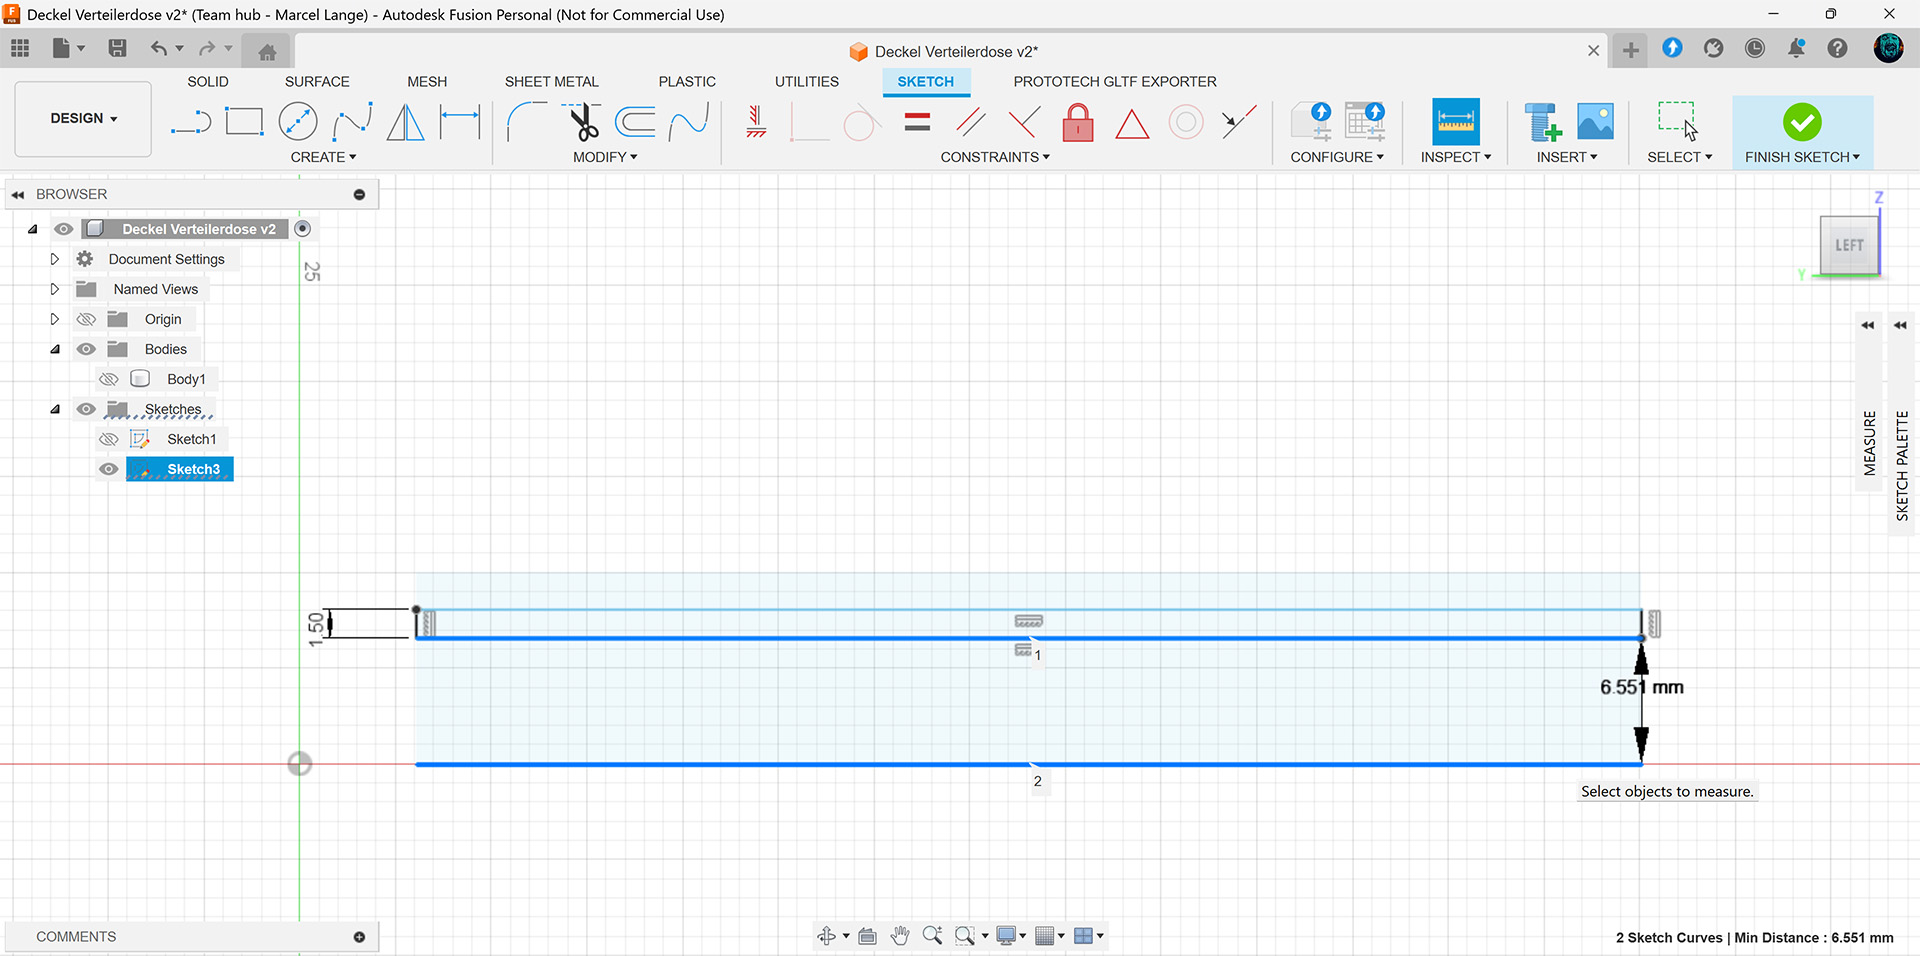
- The offset tool was utilized to create a clone of the rounded square with an offset of -2mm, to generate the caps outer walls.

- I used a square for the inner cap dimensions.
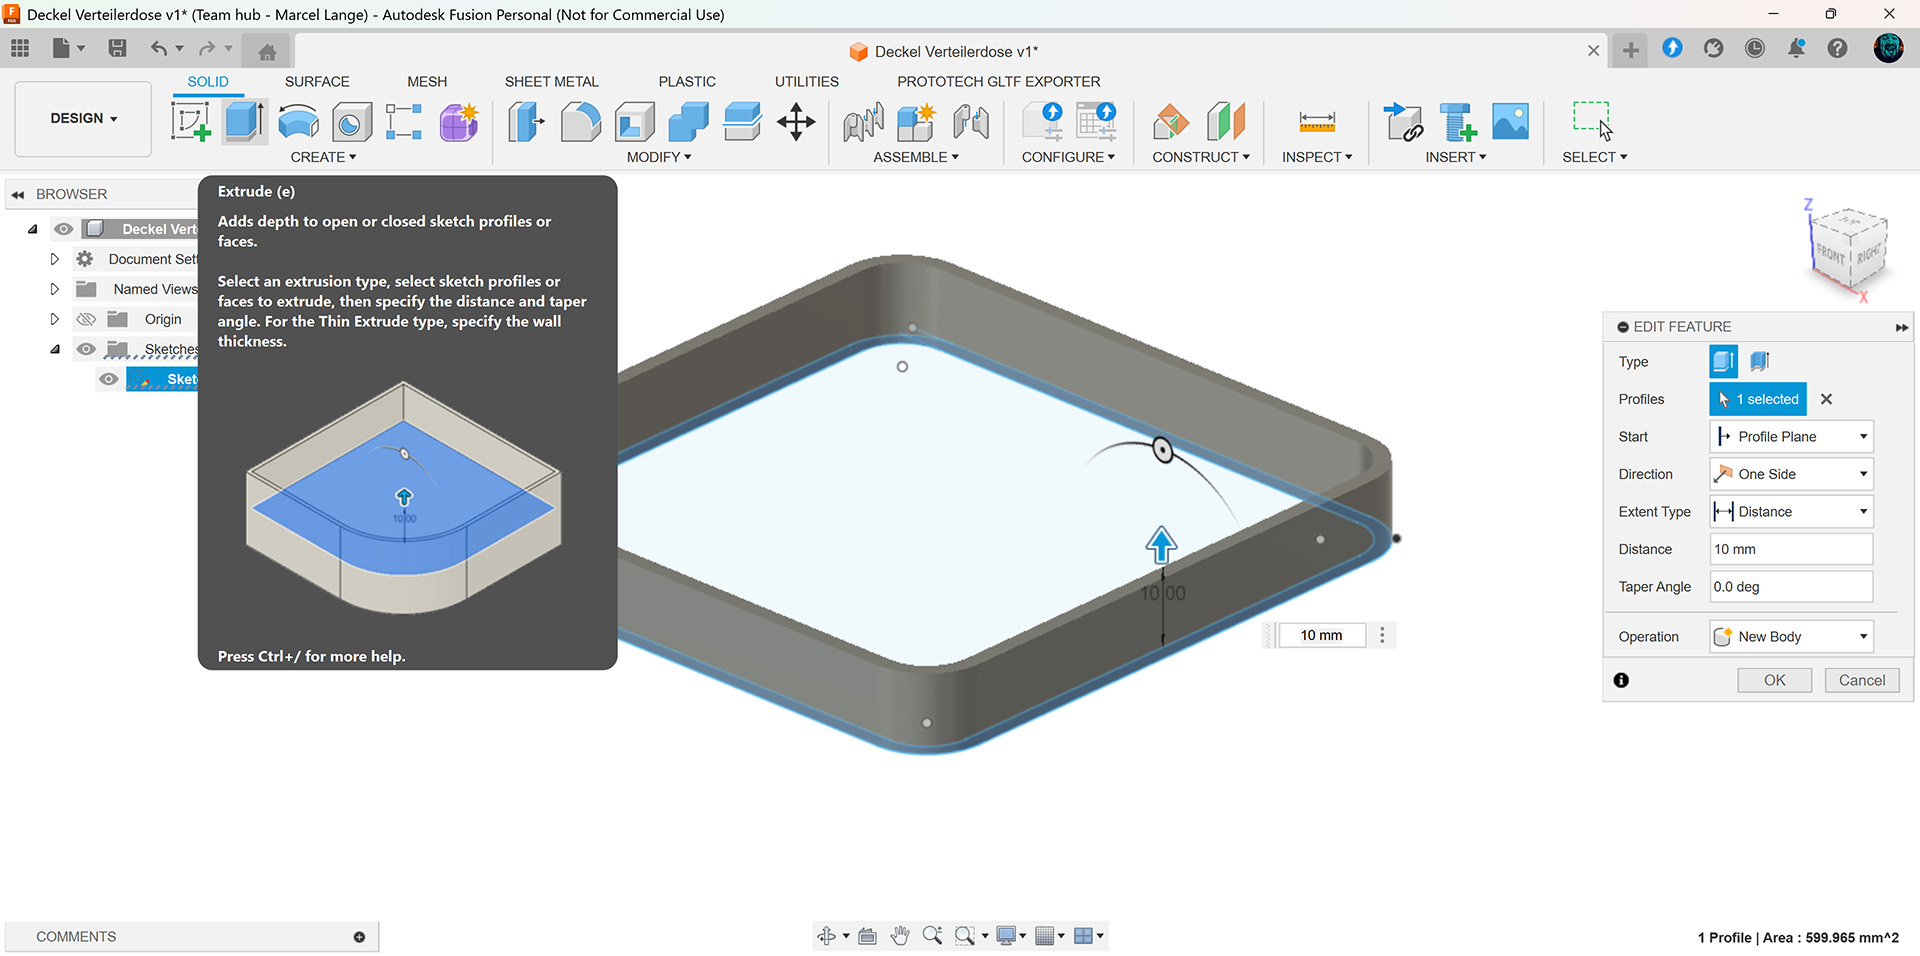
- First I extruded the wall parts of the sketch. Because I forgot to measure the depth of the cap before starting to model it, I had to estimate it at 10 mm. :-/
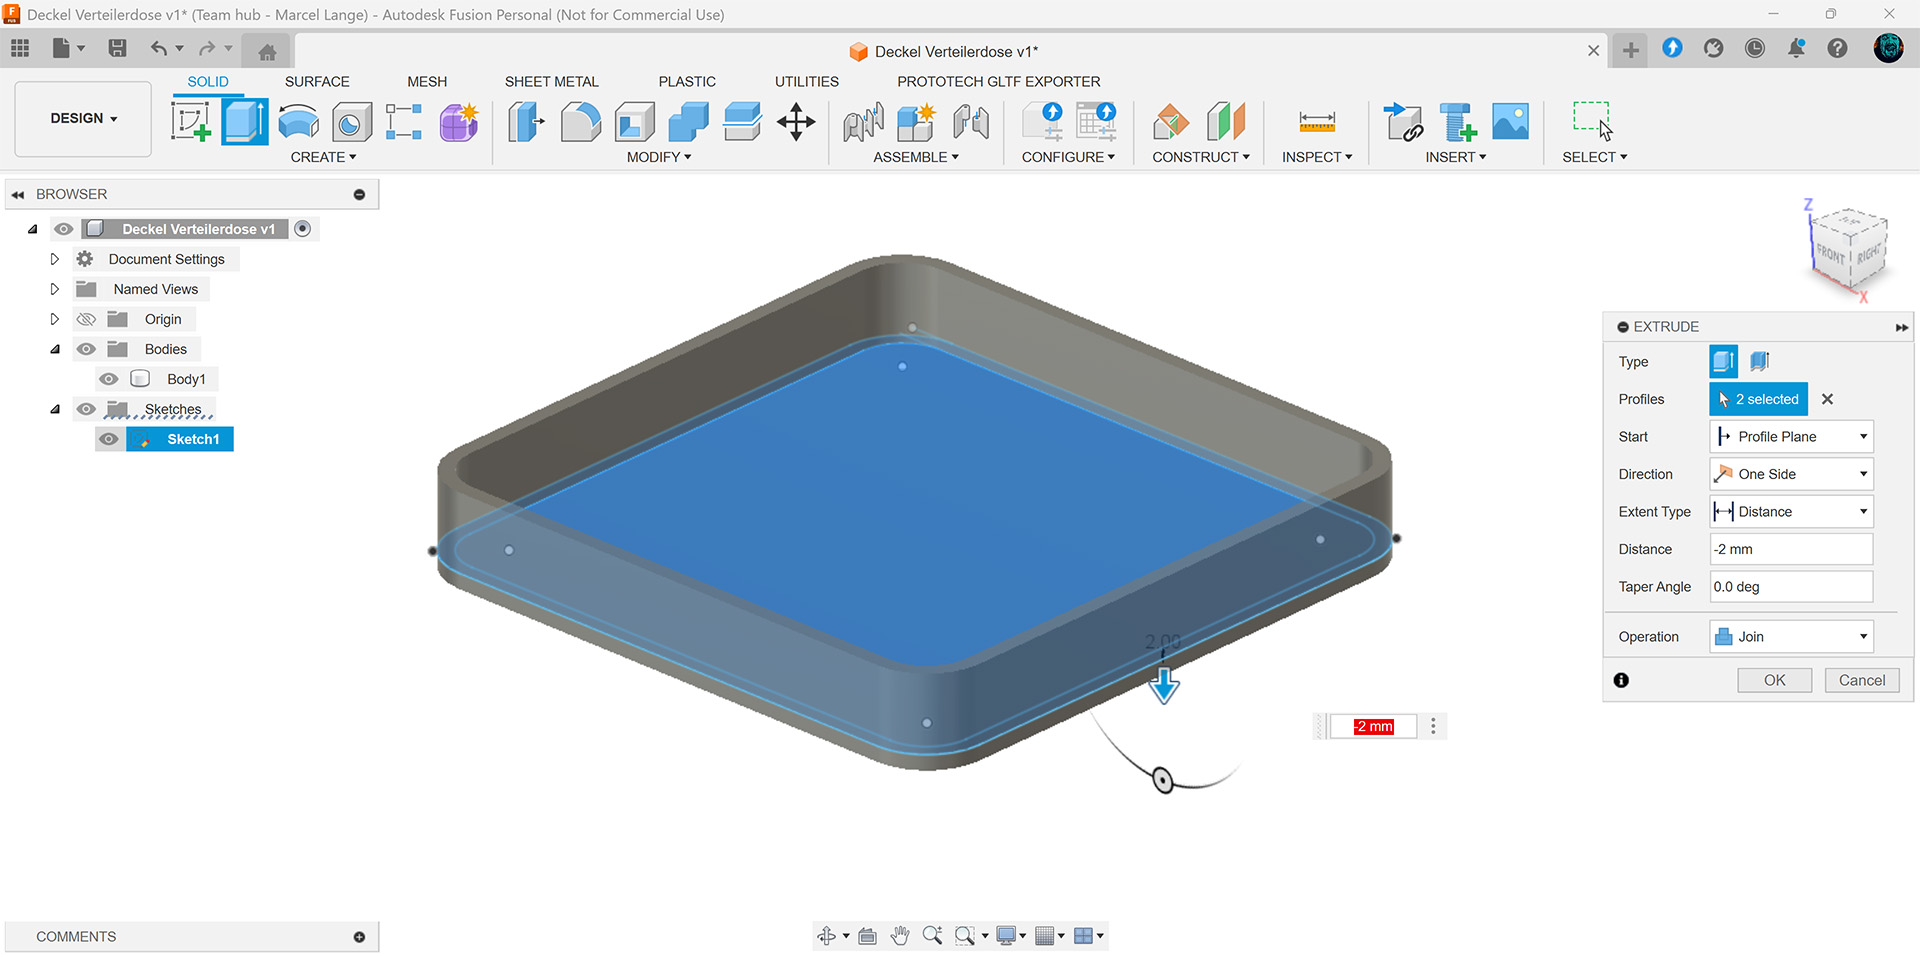
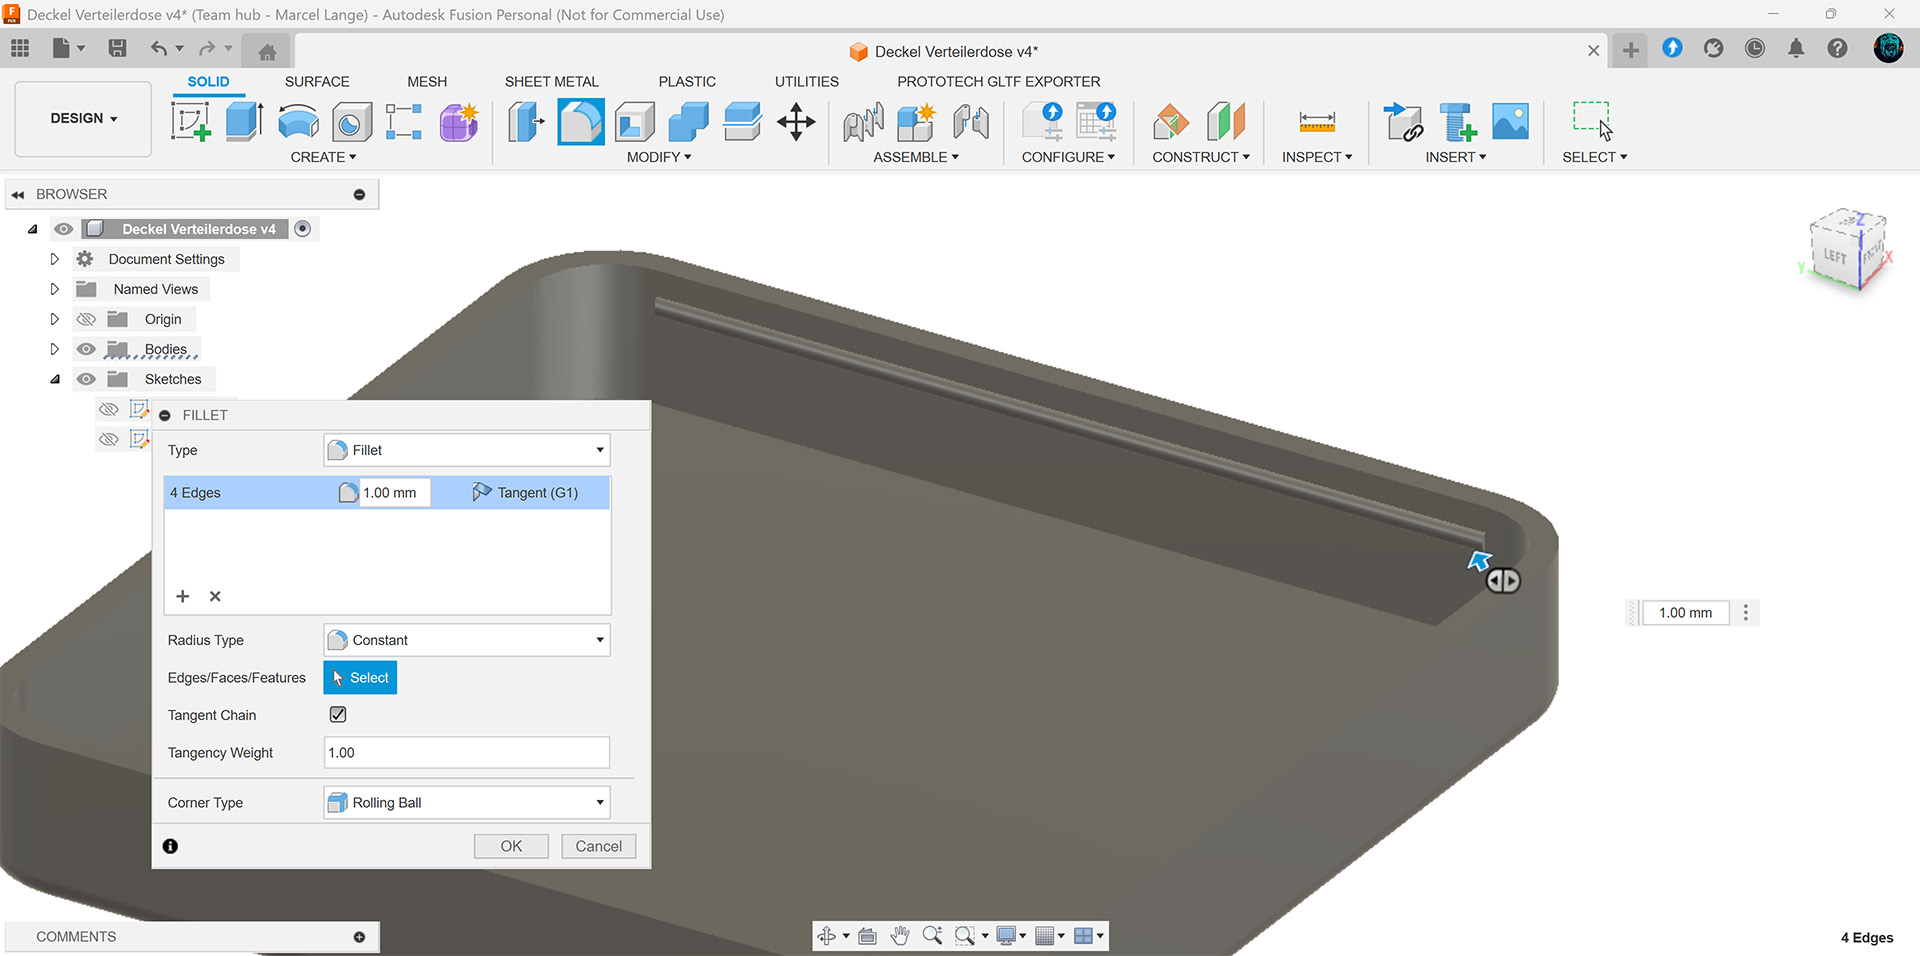
- Afterwards I extruded the whole sketch (wall + inner part) for the bottom of the cap (-2 mm).
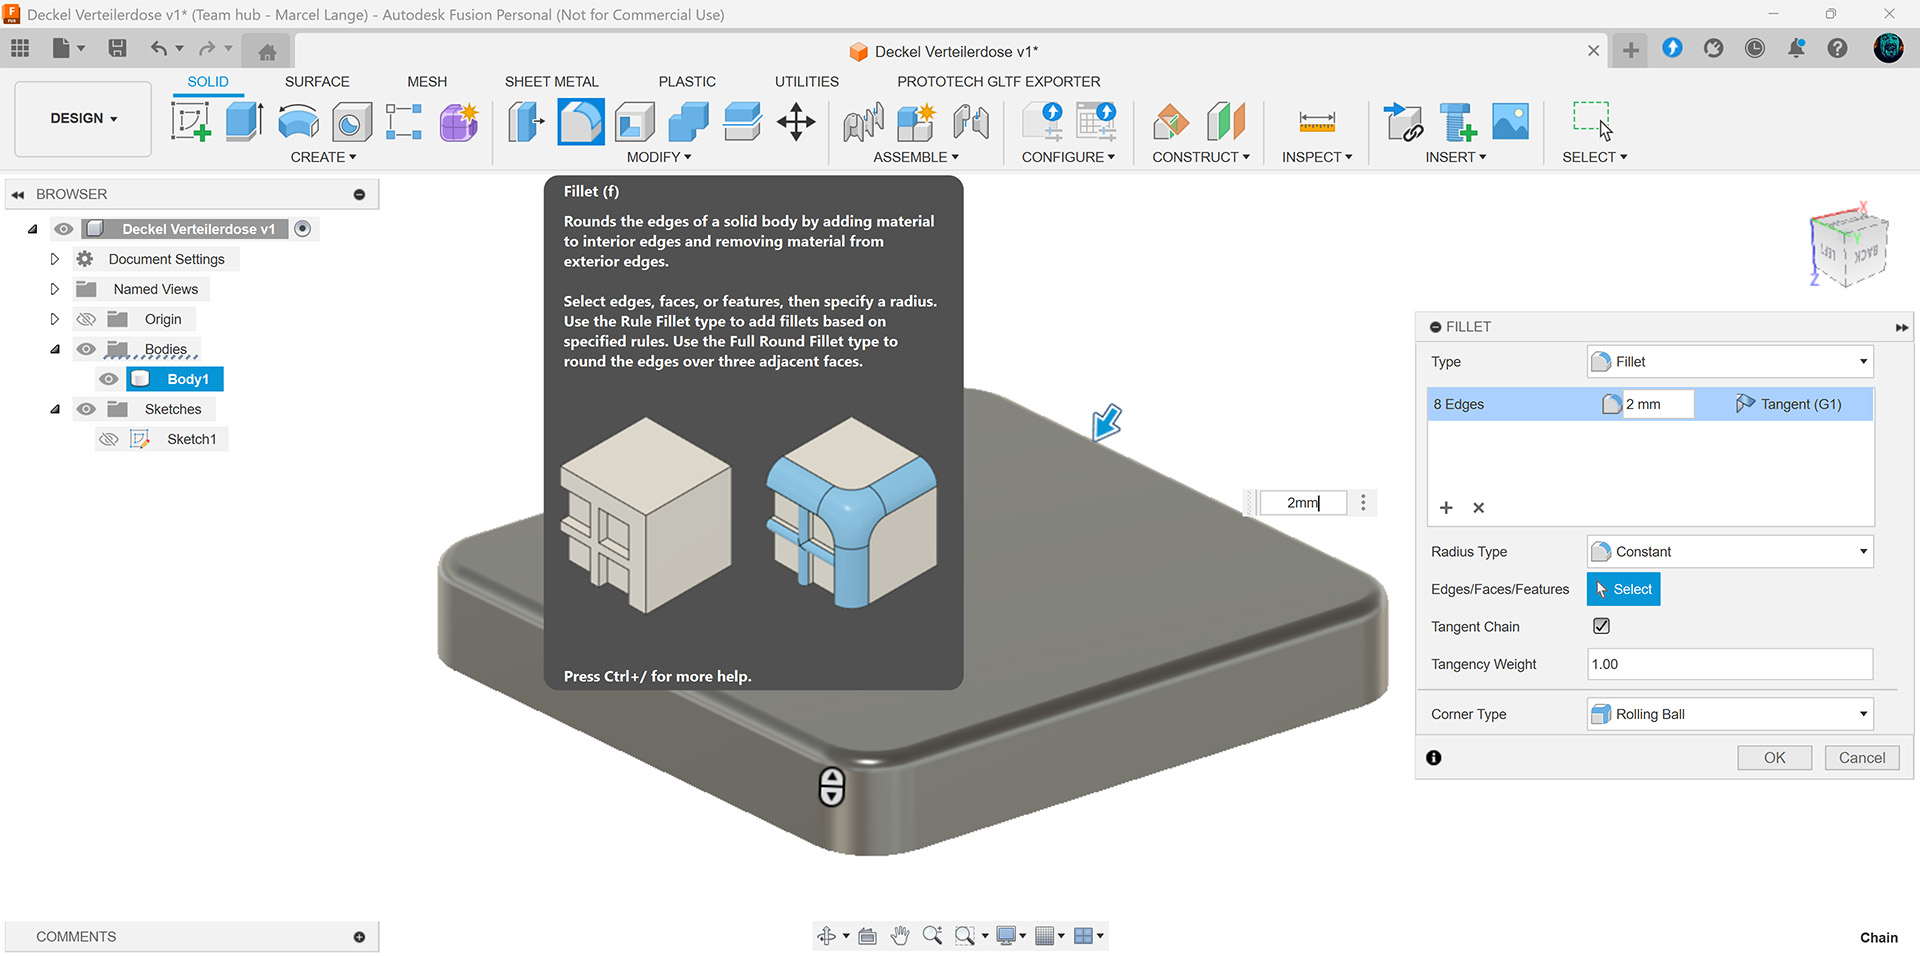
- Furthermore I created a fillet for all bottom edges (2 mm).
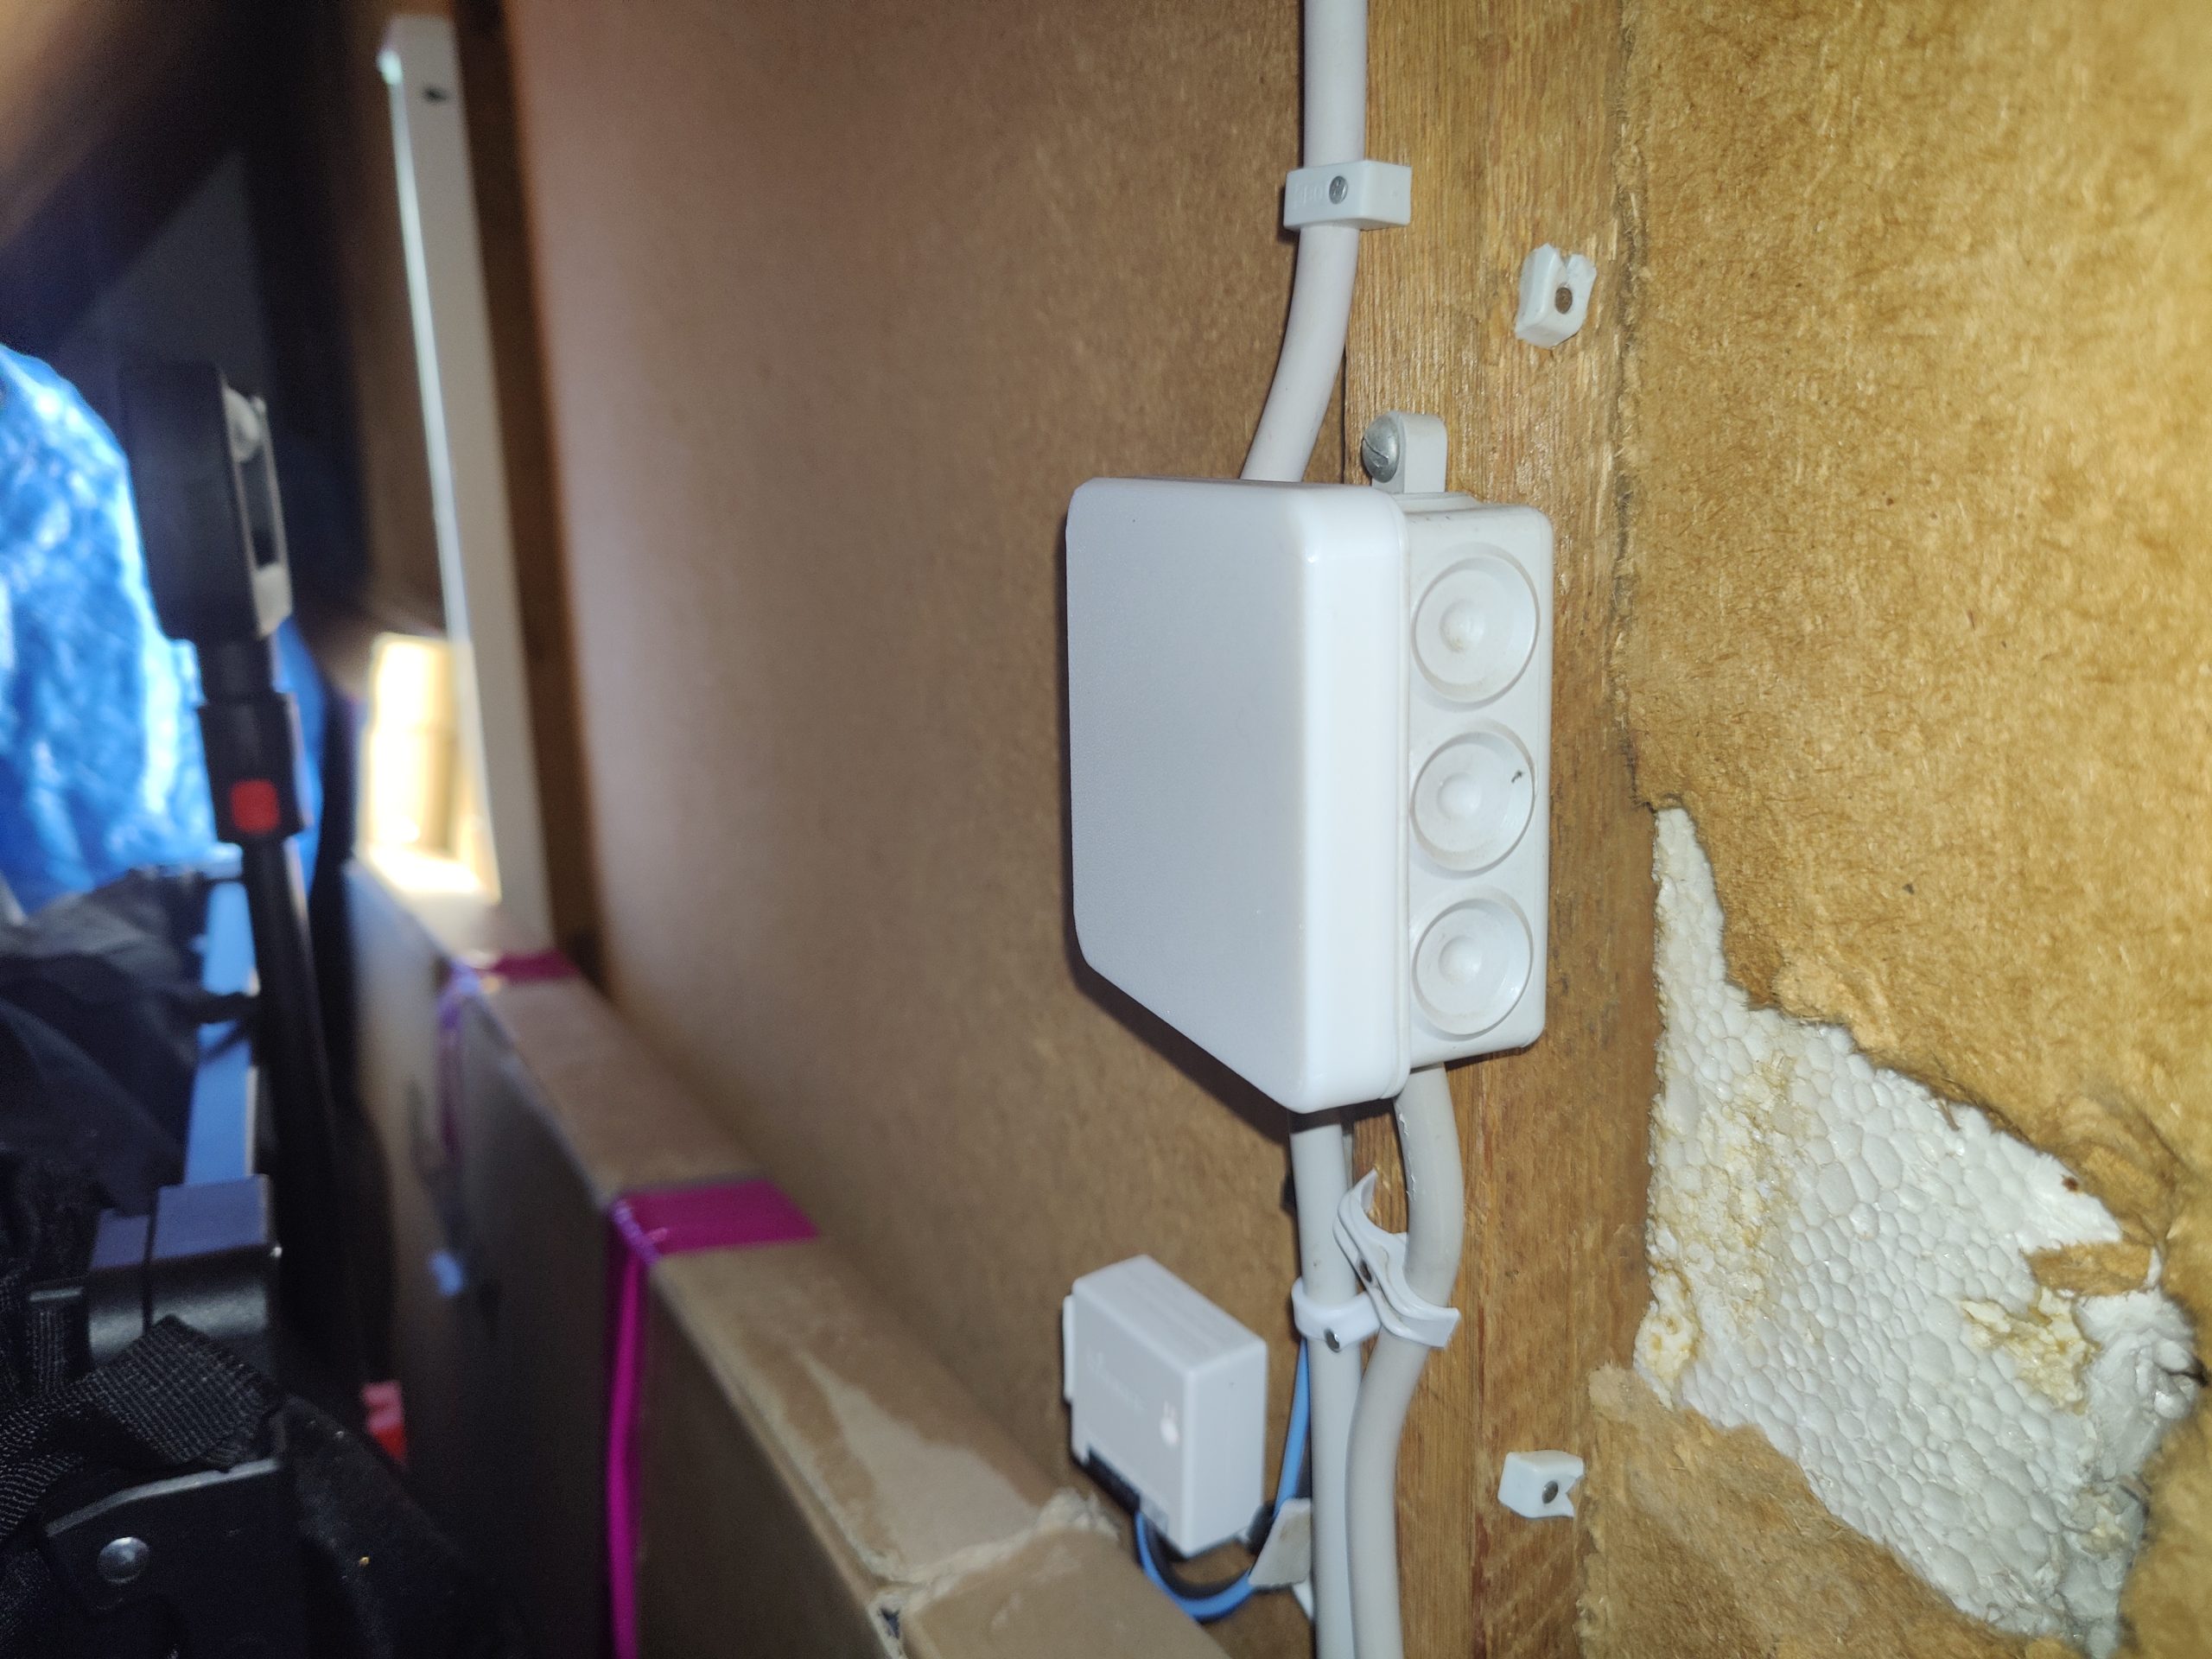
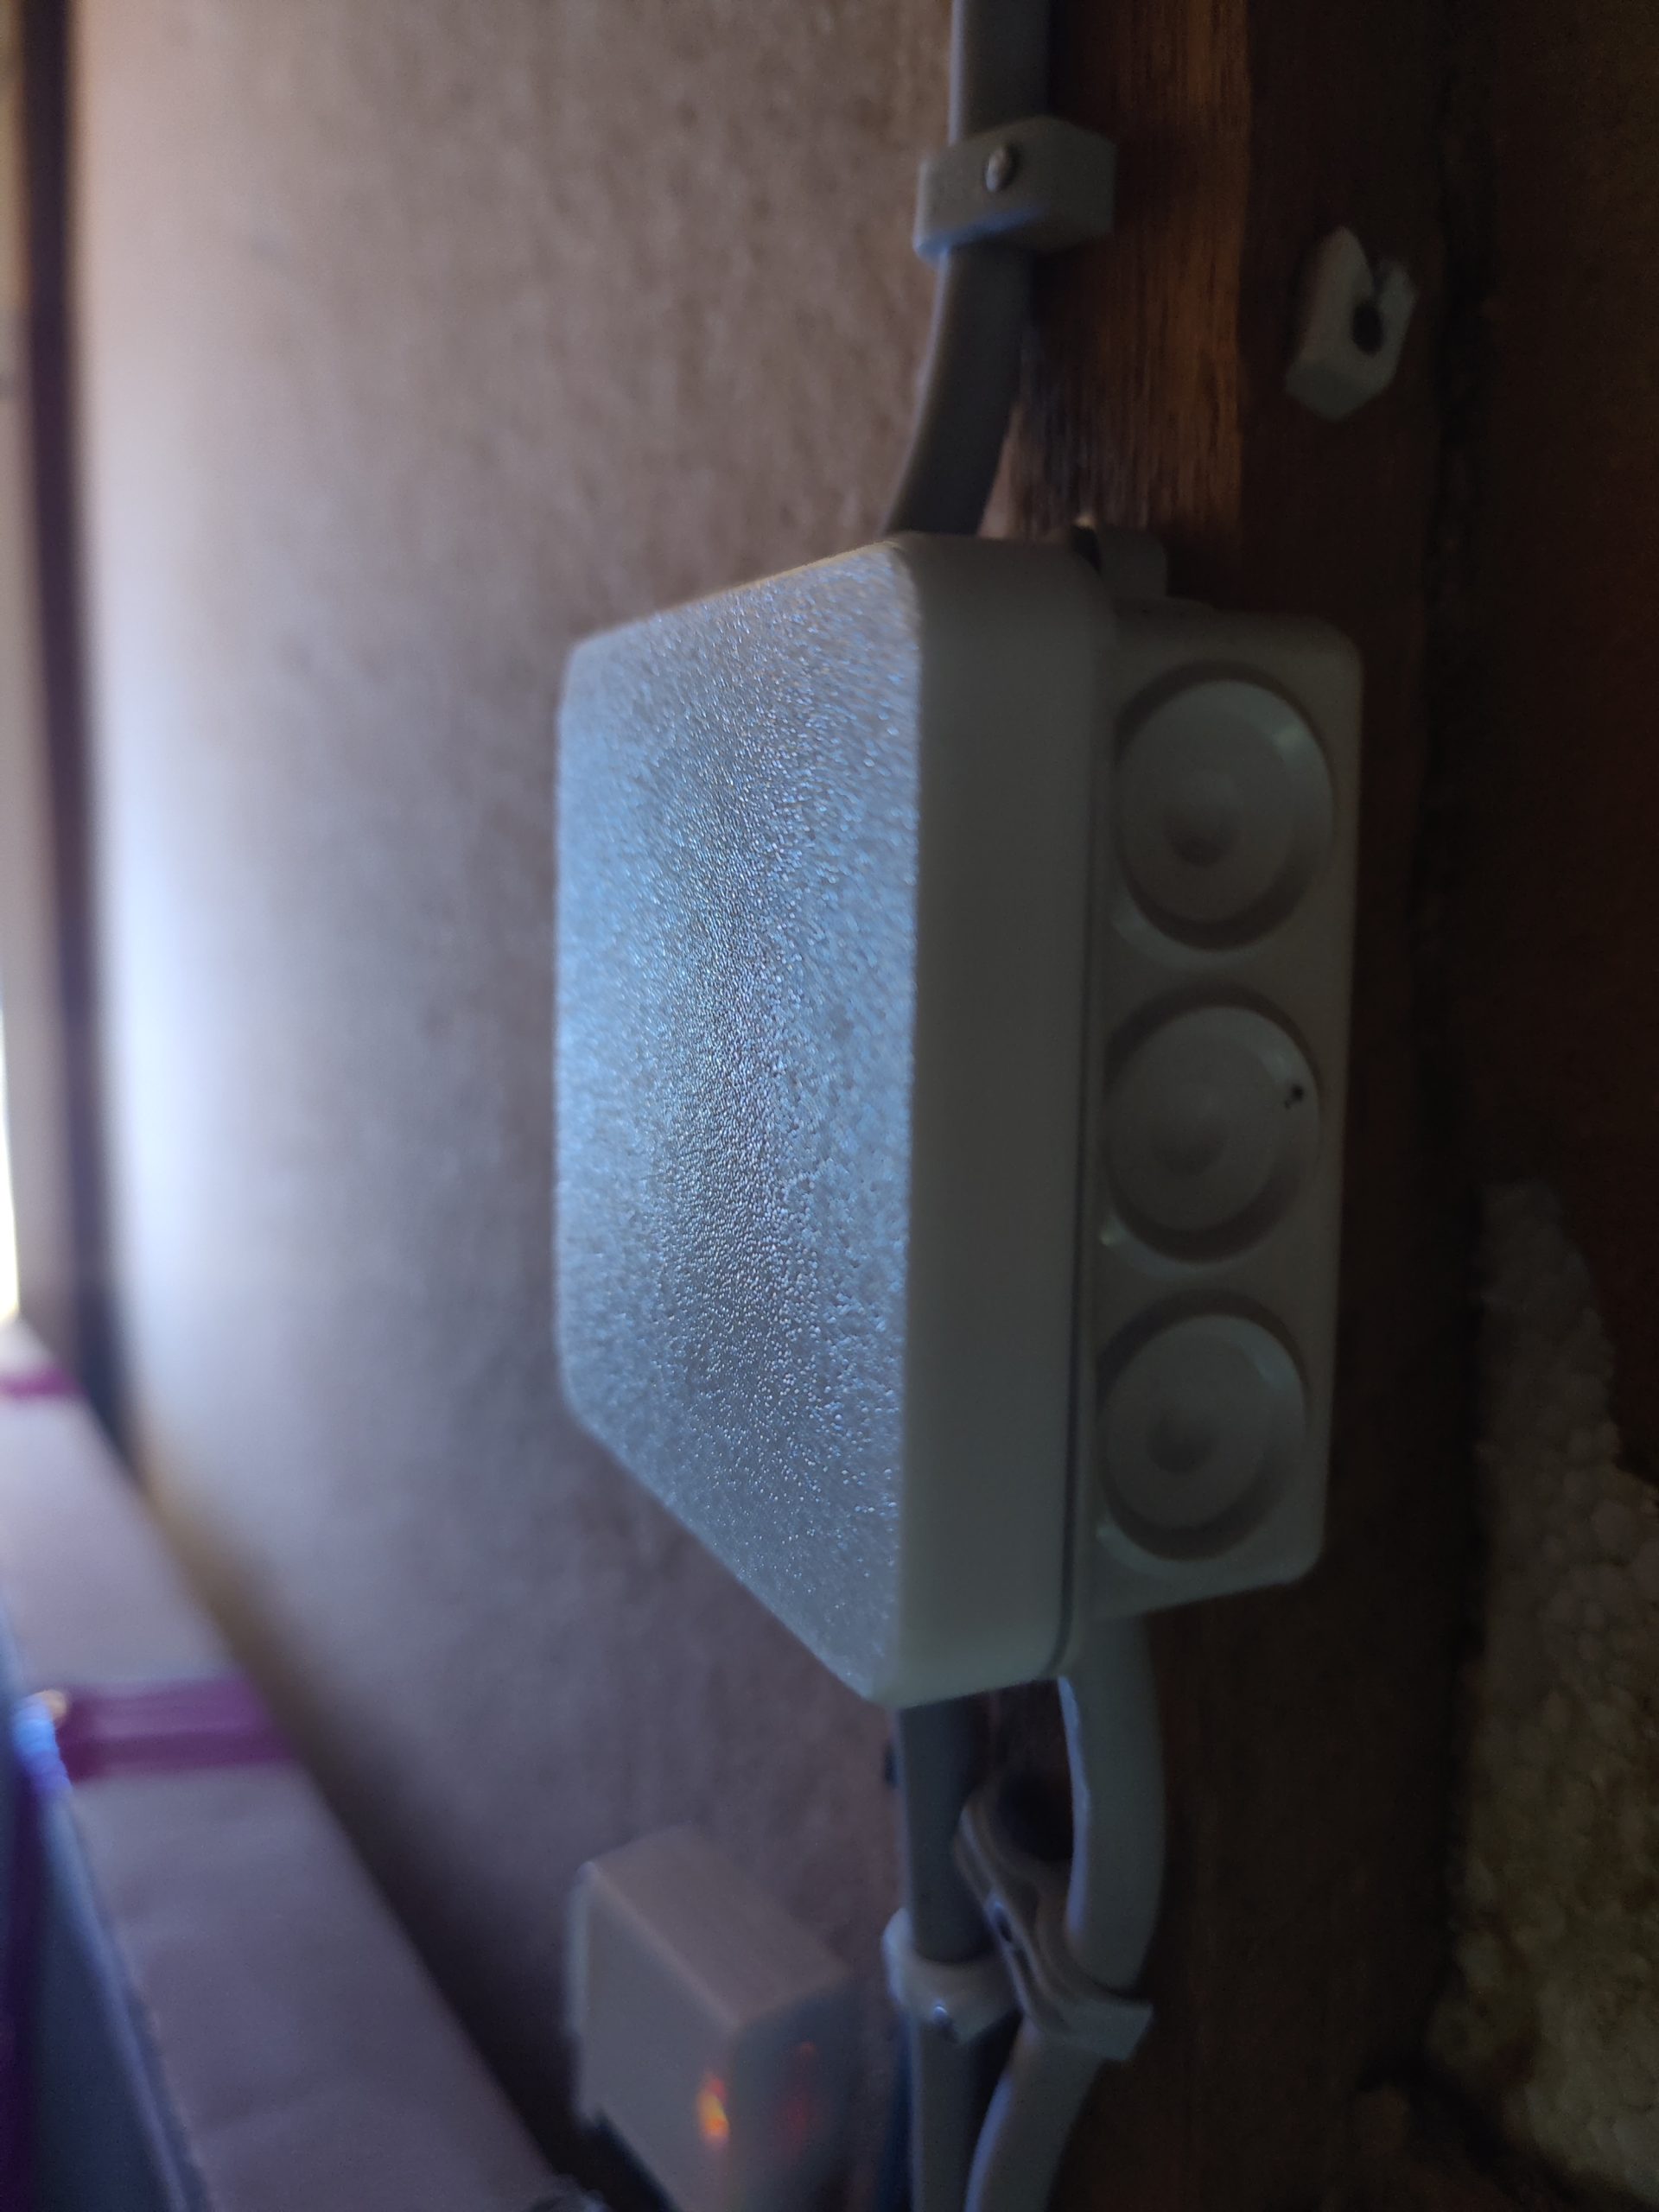
- As shown in the picture below, the junction box has these small retaining ribs on its side walls.
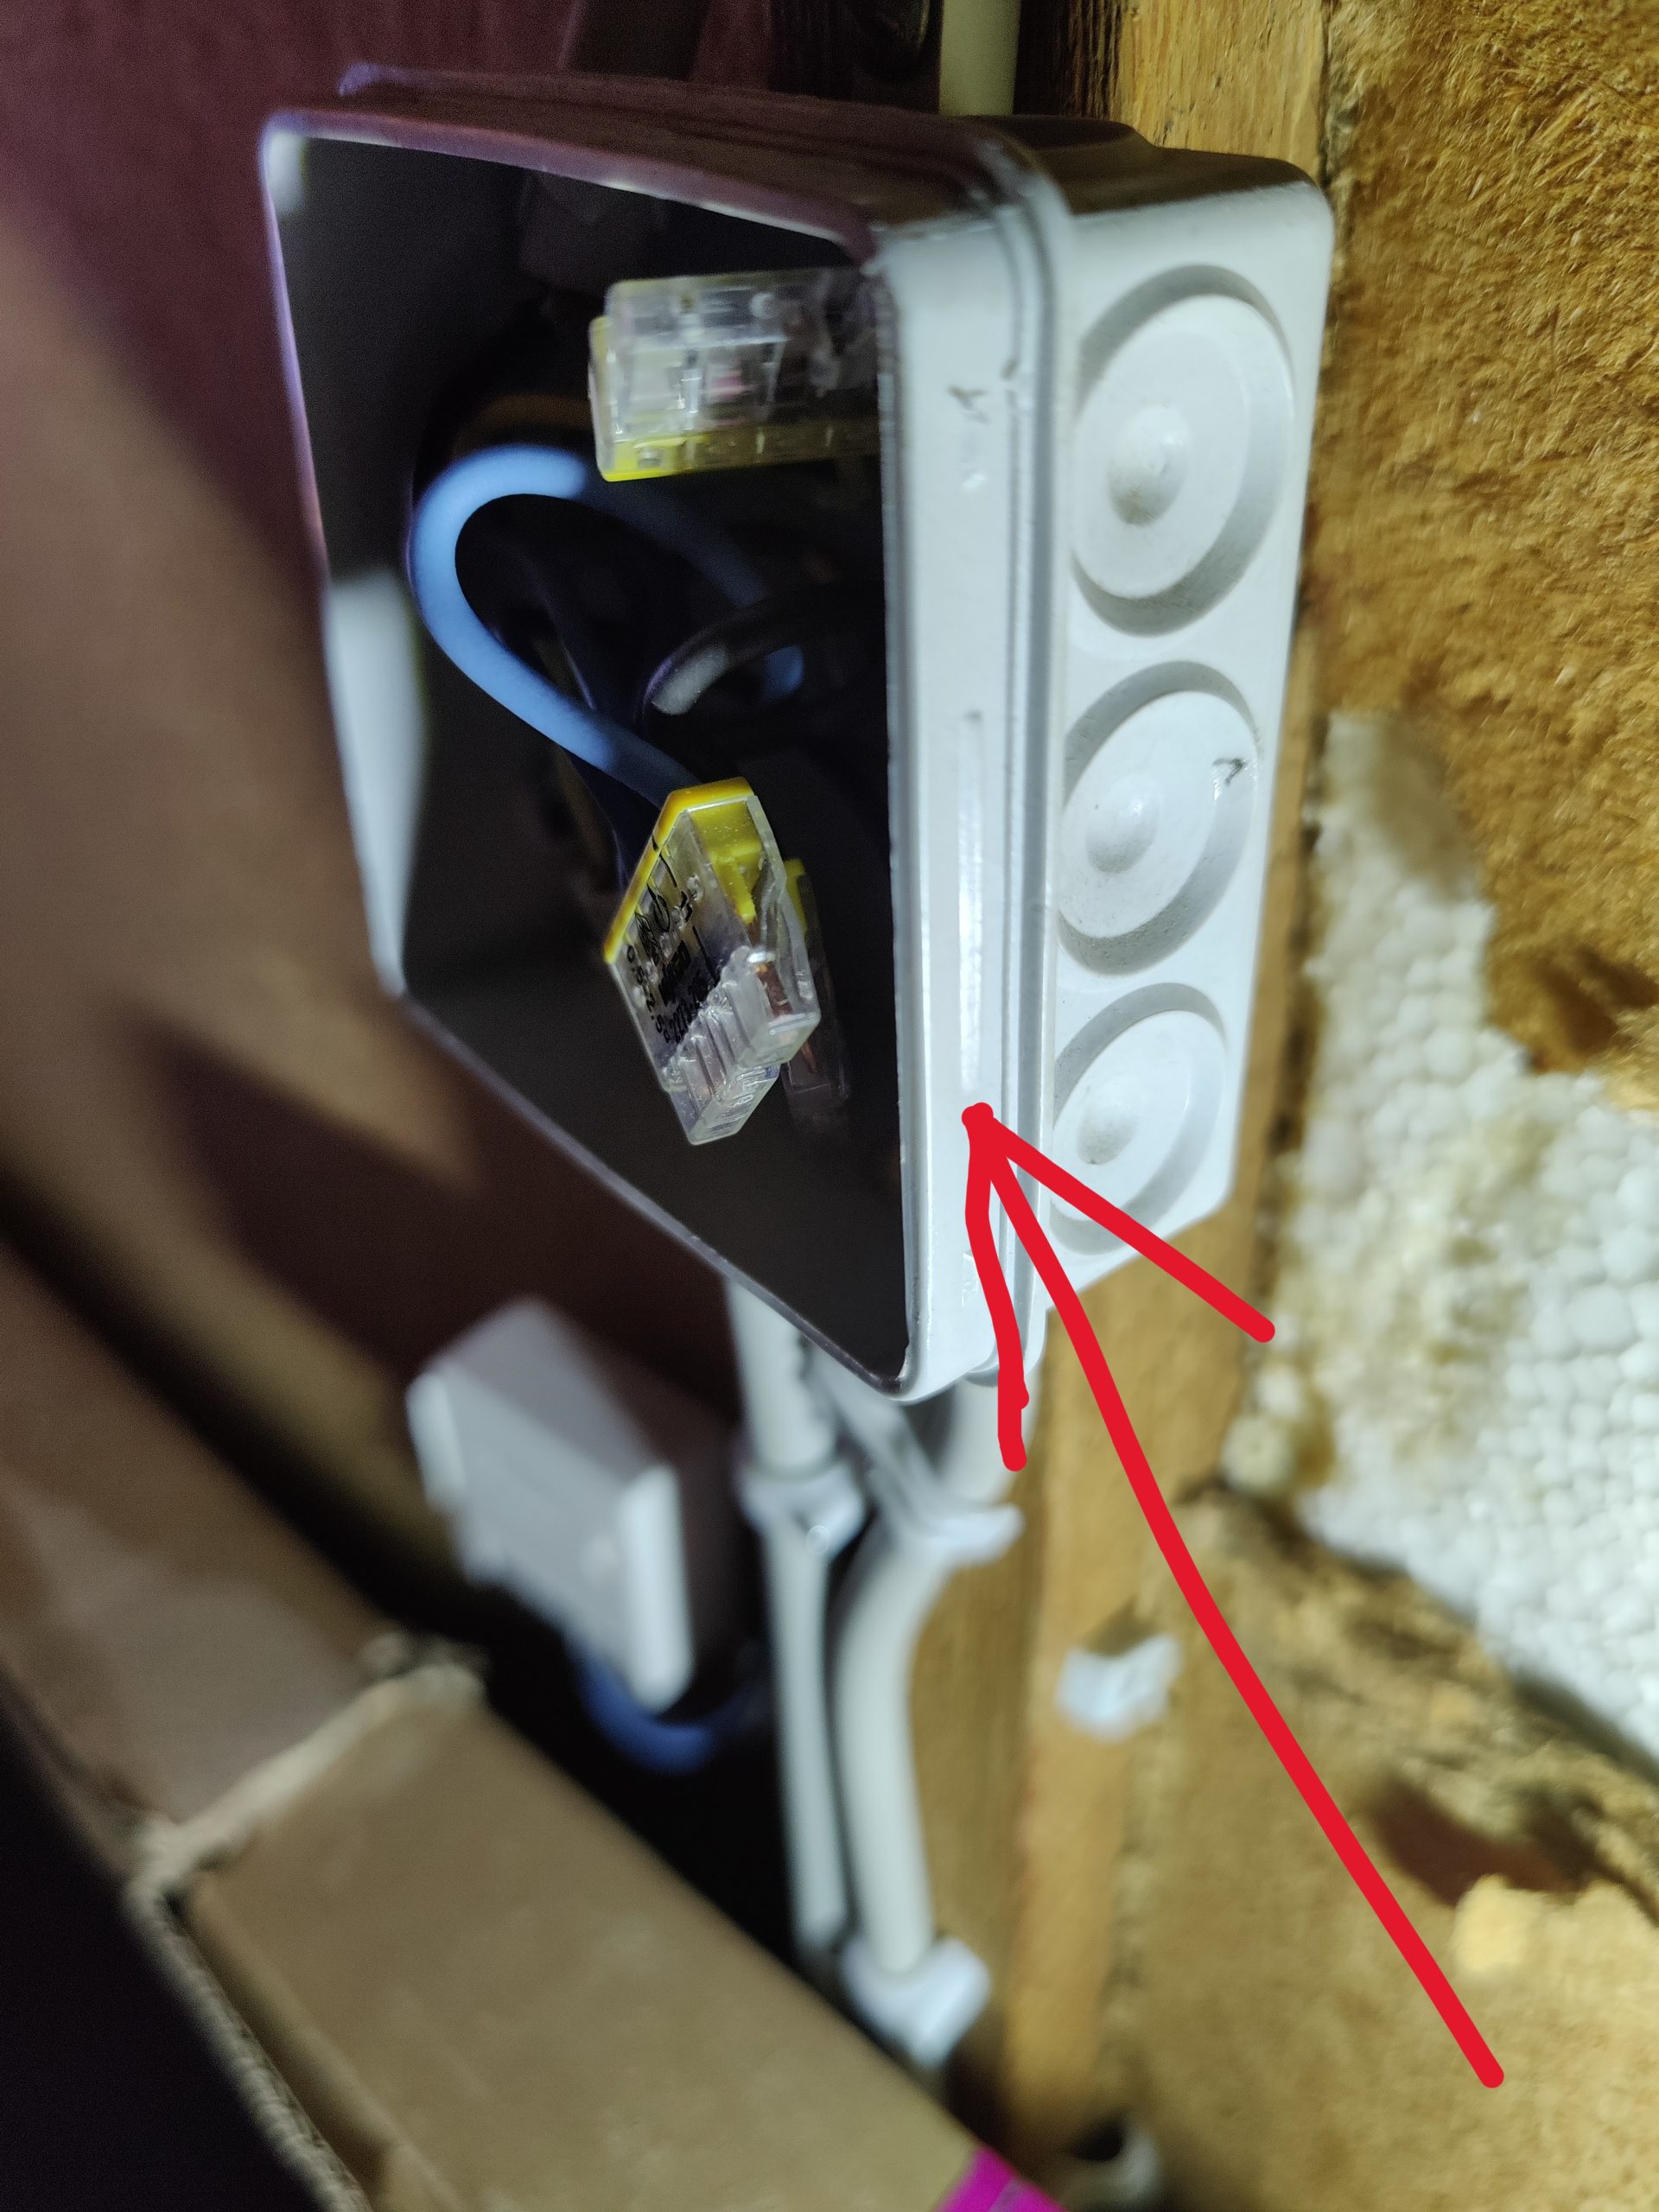
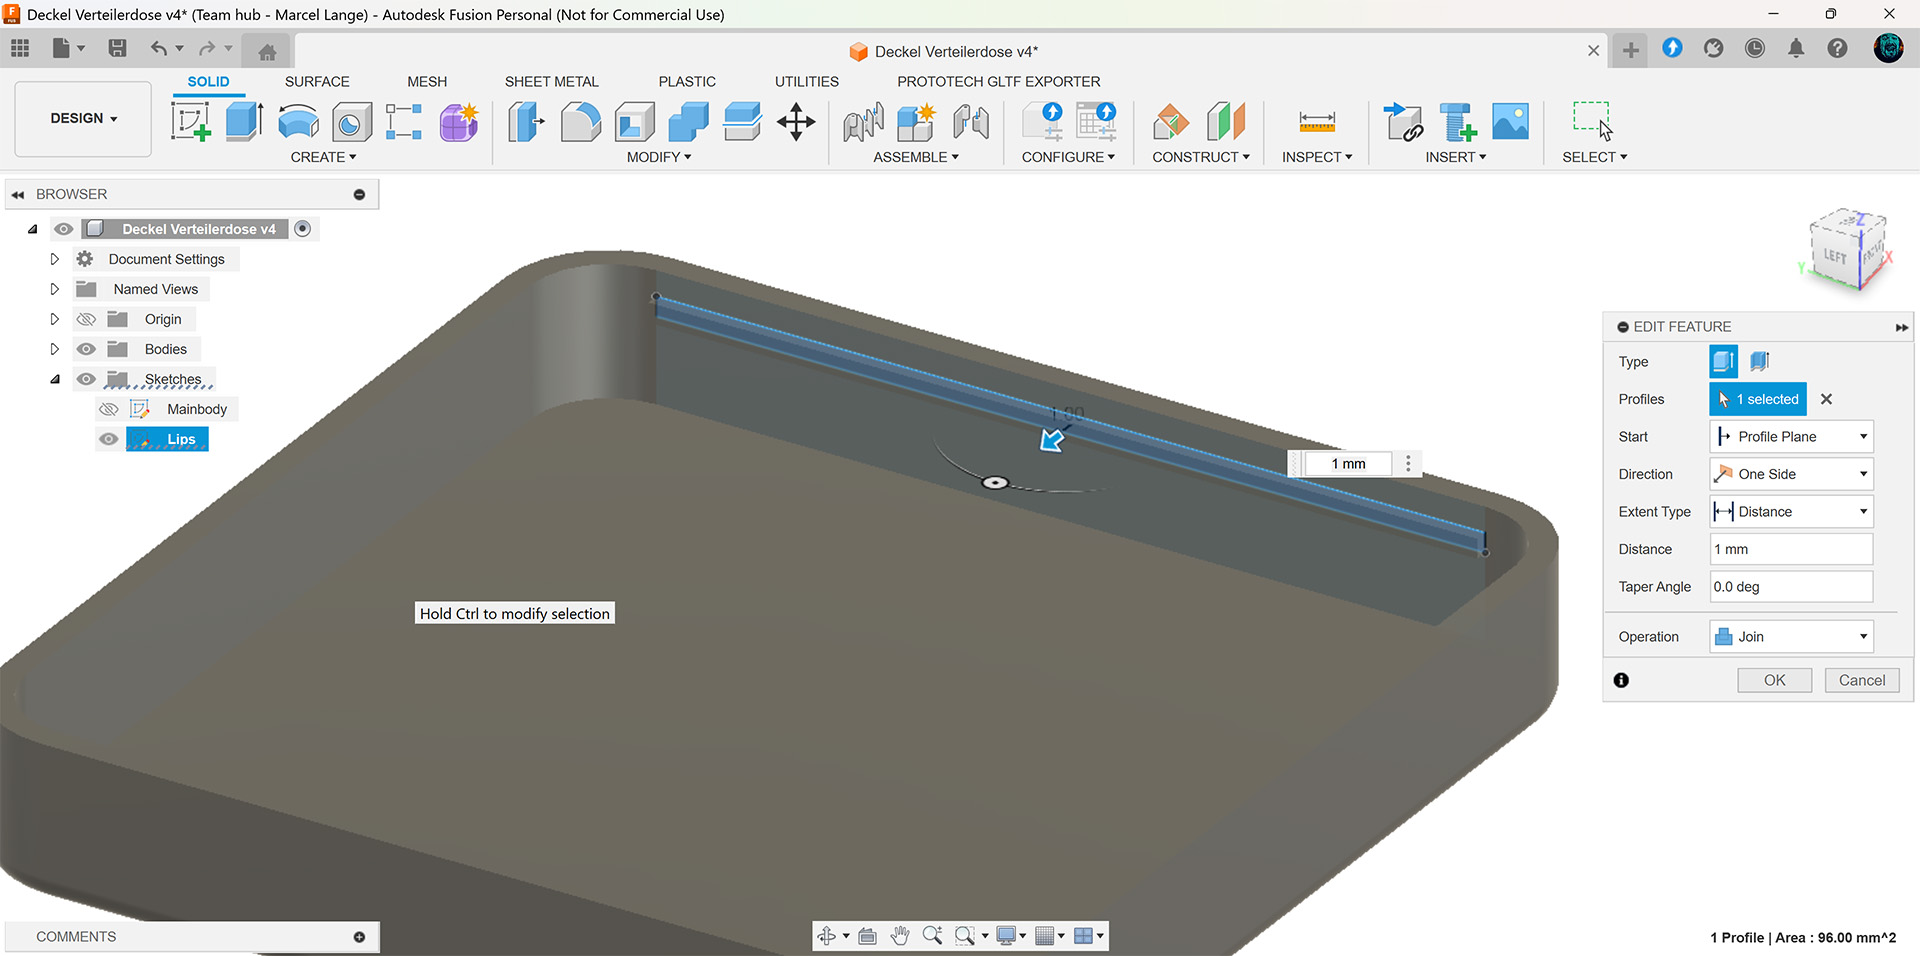
Therefore, I designed corresponding counterparts for the cap model.- I created another sketch, which I mapped on one of the inner side walls:
- Afterwards I extruded this sketch by 1mm to create a rib
- Then I used the fillet tool again to round up the edges of the retaining rib
- I repeated the previous three steps with the difference that I copied all the contents of the first sketch into each new sketch and, if necessary, moved them to the correct position.
Afterwards all four inner walls had a retaining rib.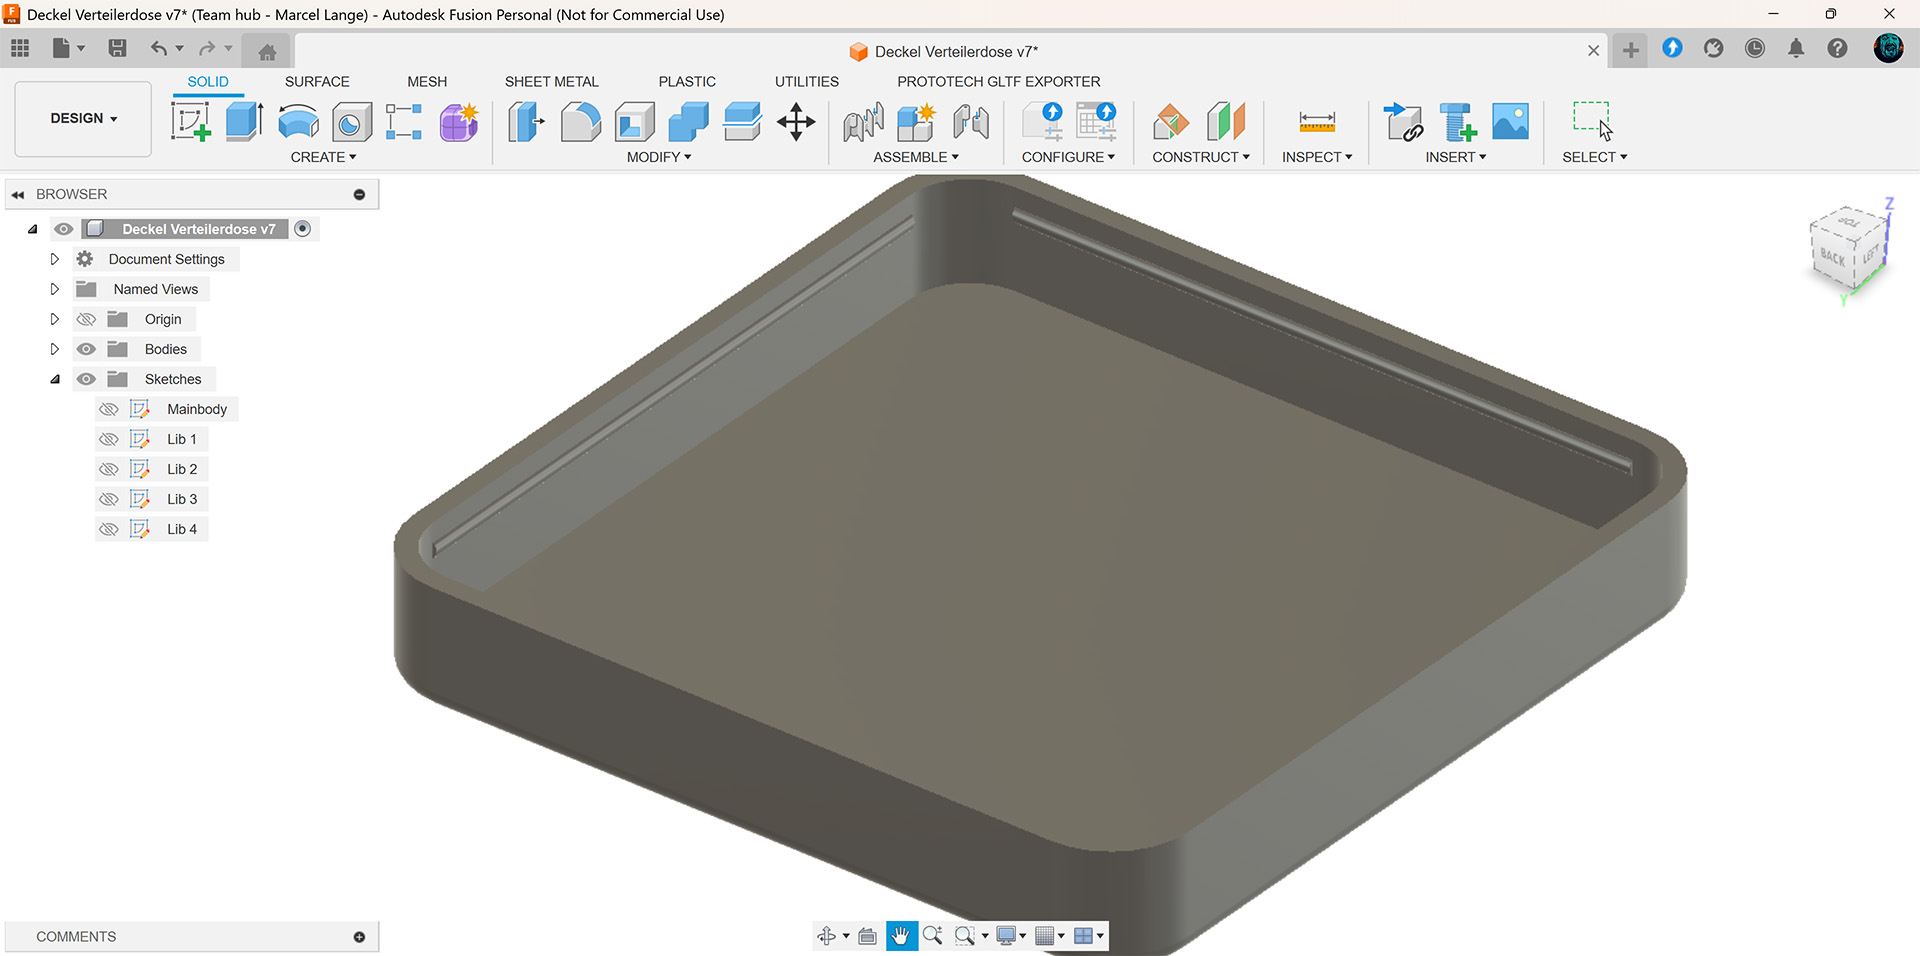
- I created another sketch, which I mapped on one of the inner side walls:
- La Fin
Models of the junction box cap
Here you can find a preview of all involved 3D models. By the way, the rendering is done by babylon.js.
(Babylon Viewer).
Print Settings
To print the cap with Bambu Studio slicer, I used the following settings:
| Printer | Bambu Lab A1 + AMS Lite |
| Nozzle | 0.6 Hardened Steel |
| Print Bed | Textured PEI Plate |
| Material | Anycubic PLA |
| Color | White |
| Profil | 0.24 mm Optimal @BBL A1 0.6 nozzle |
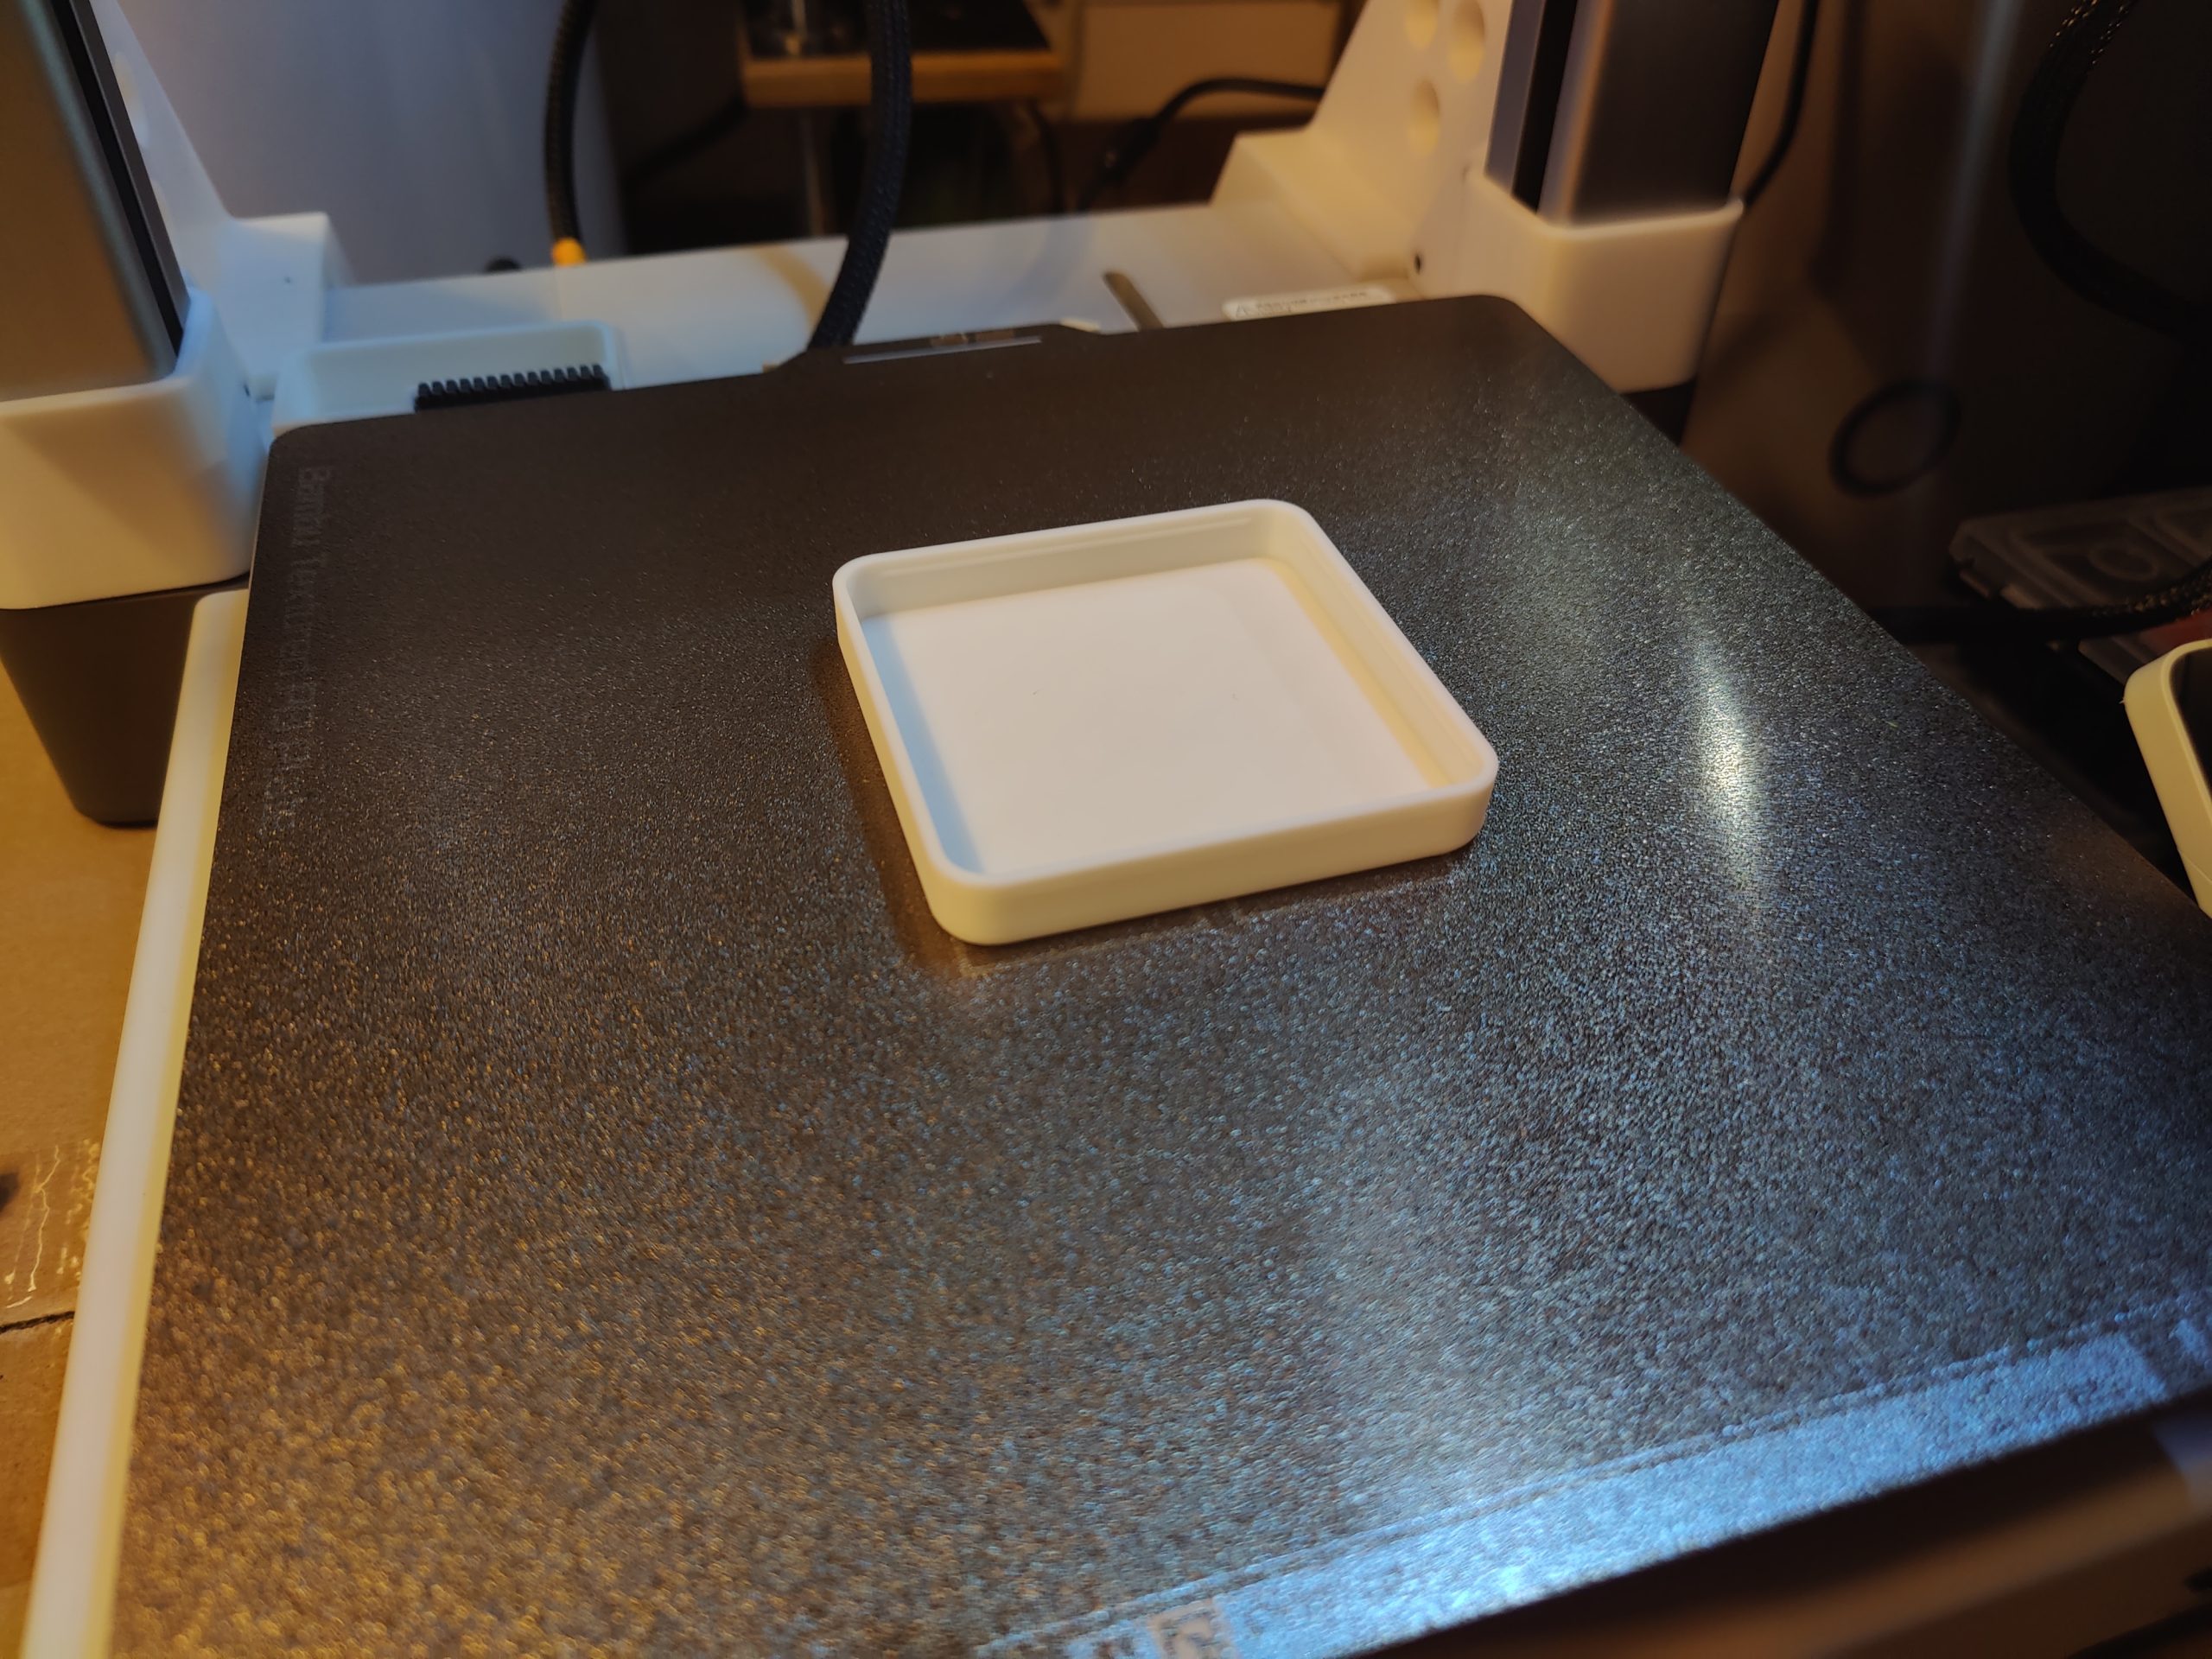
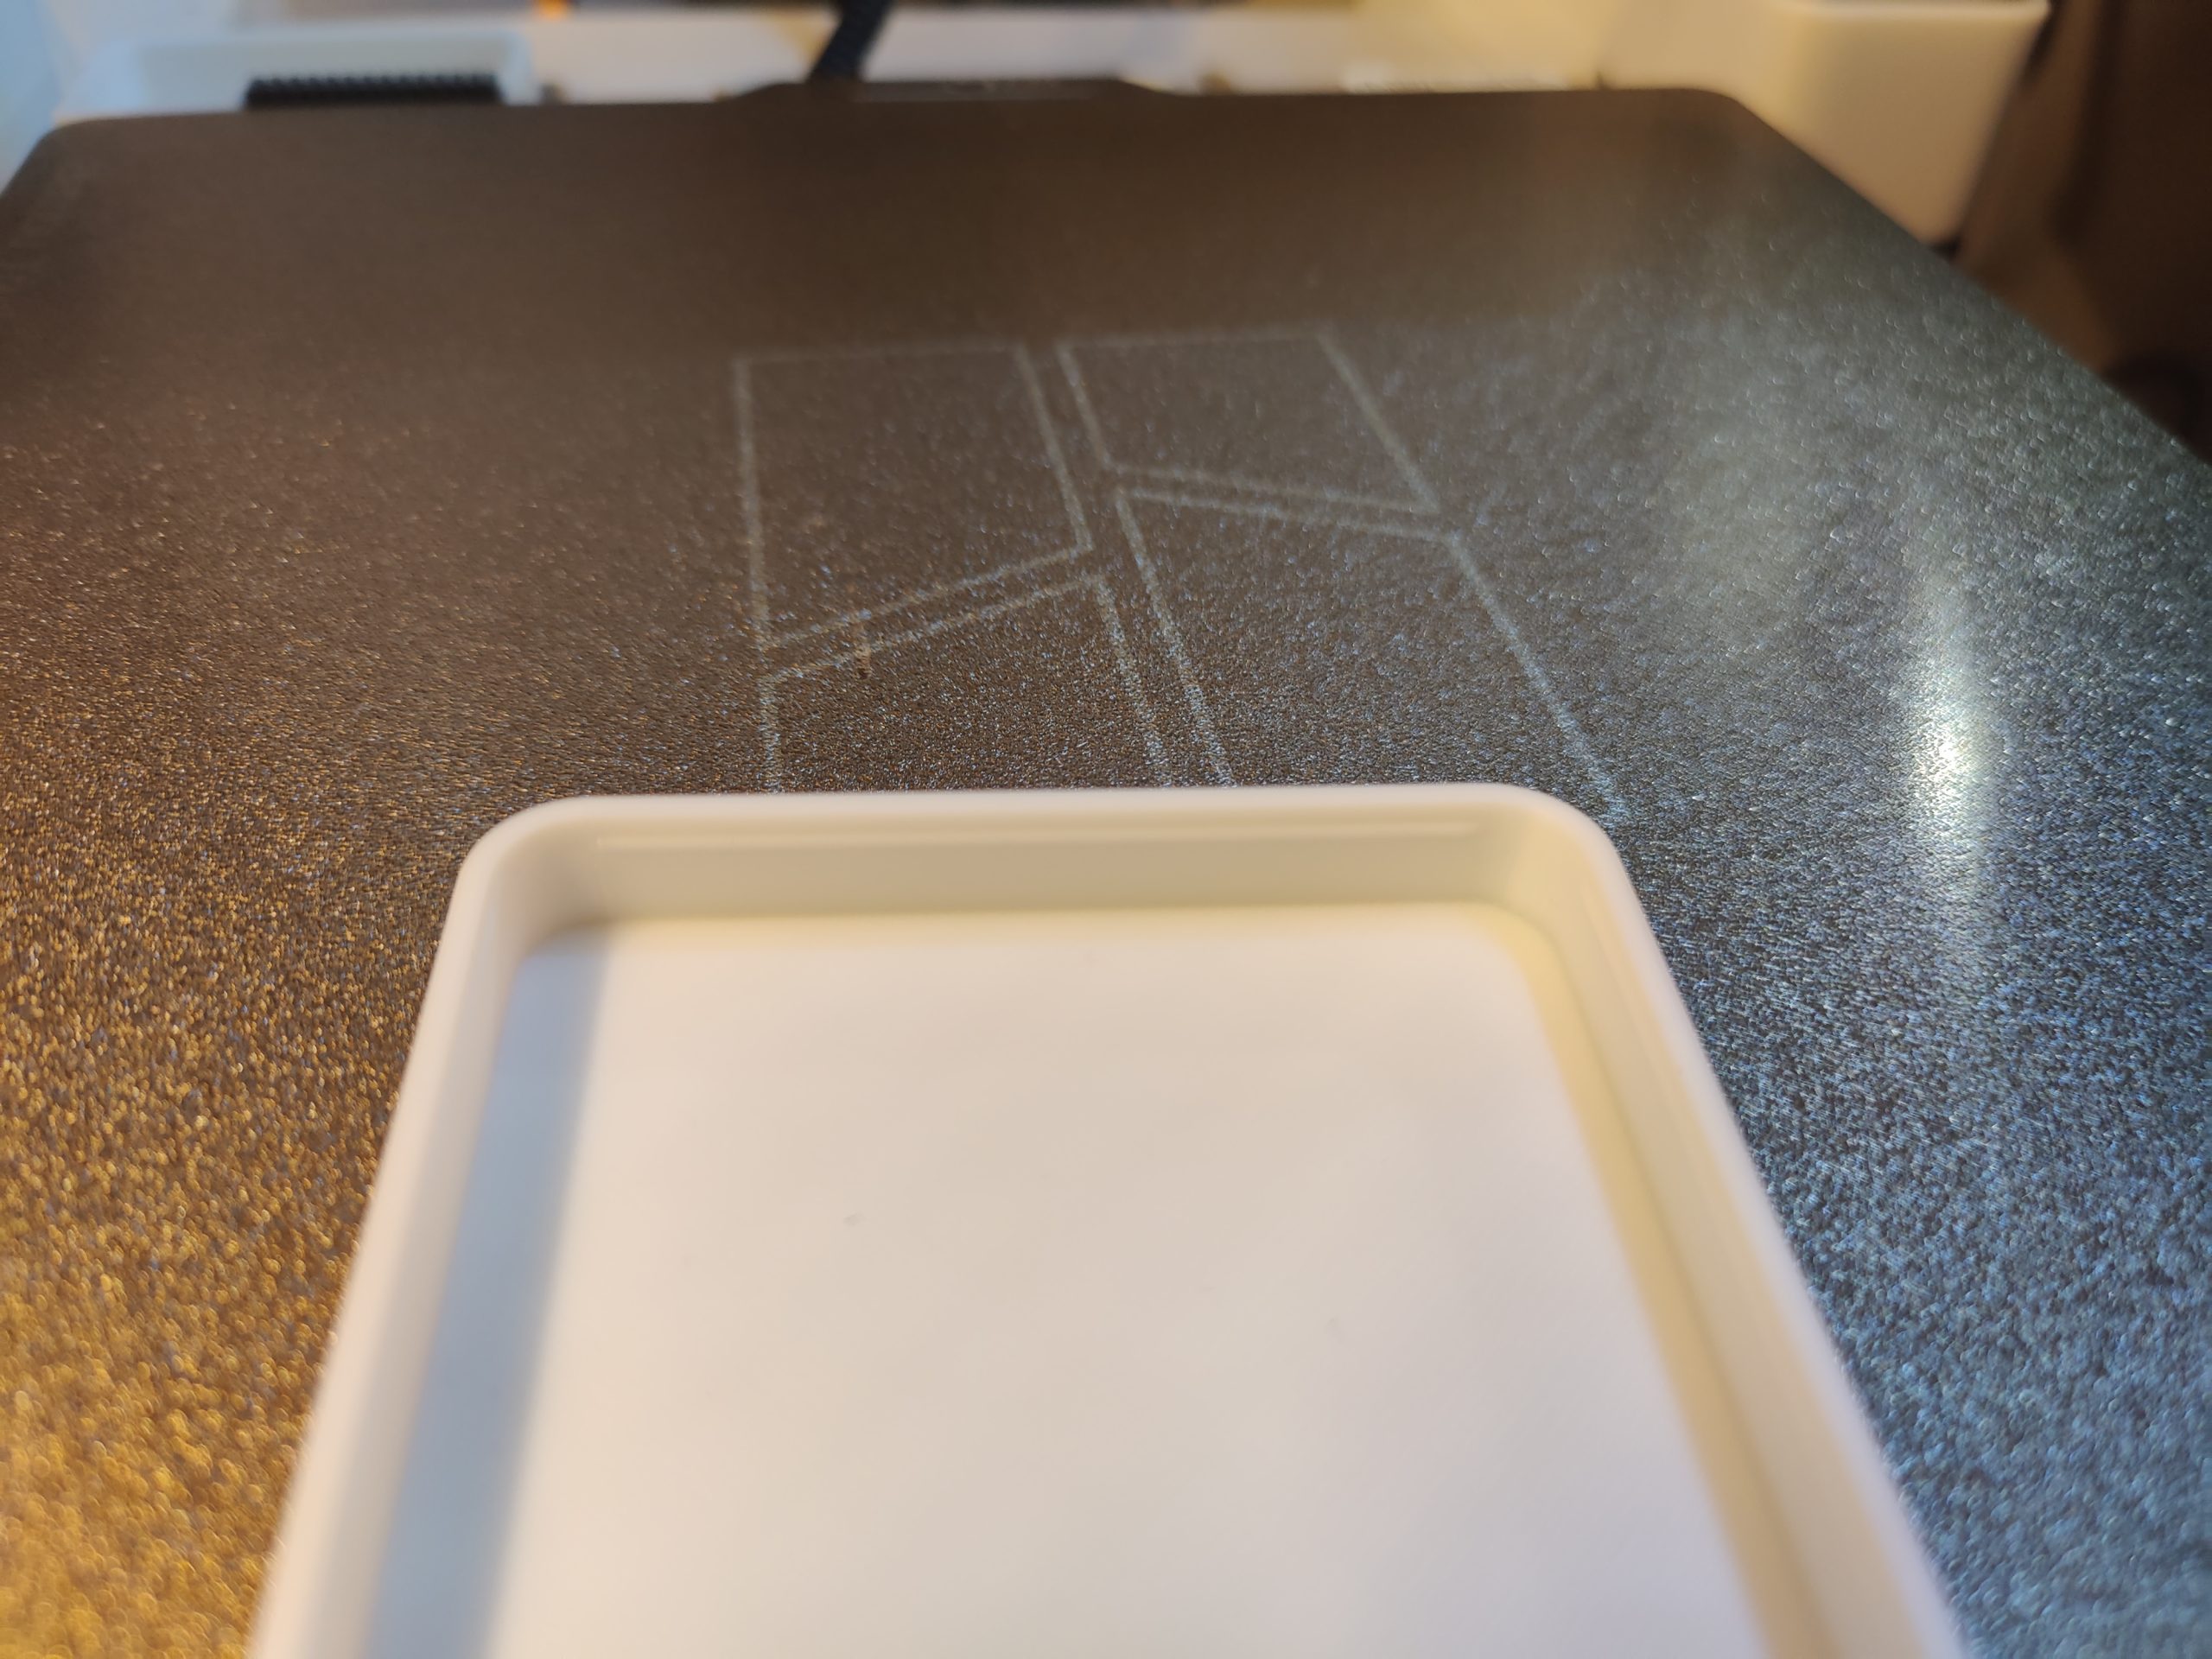
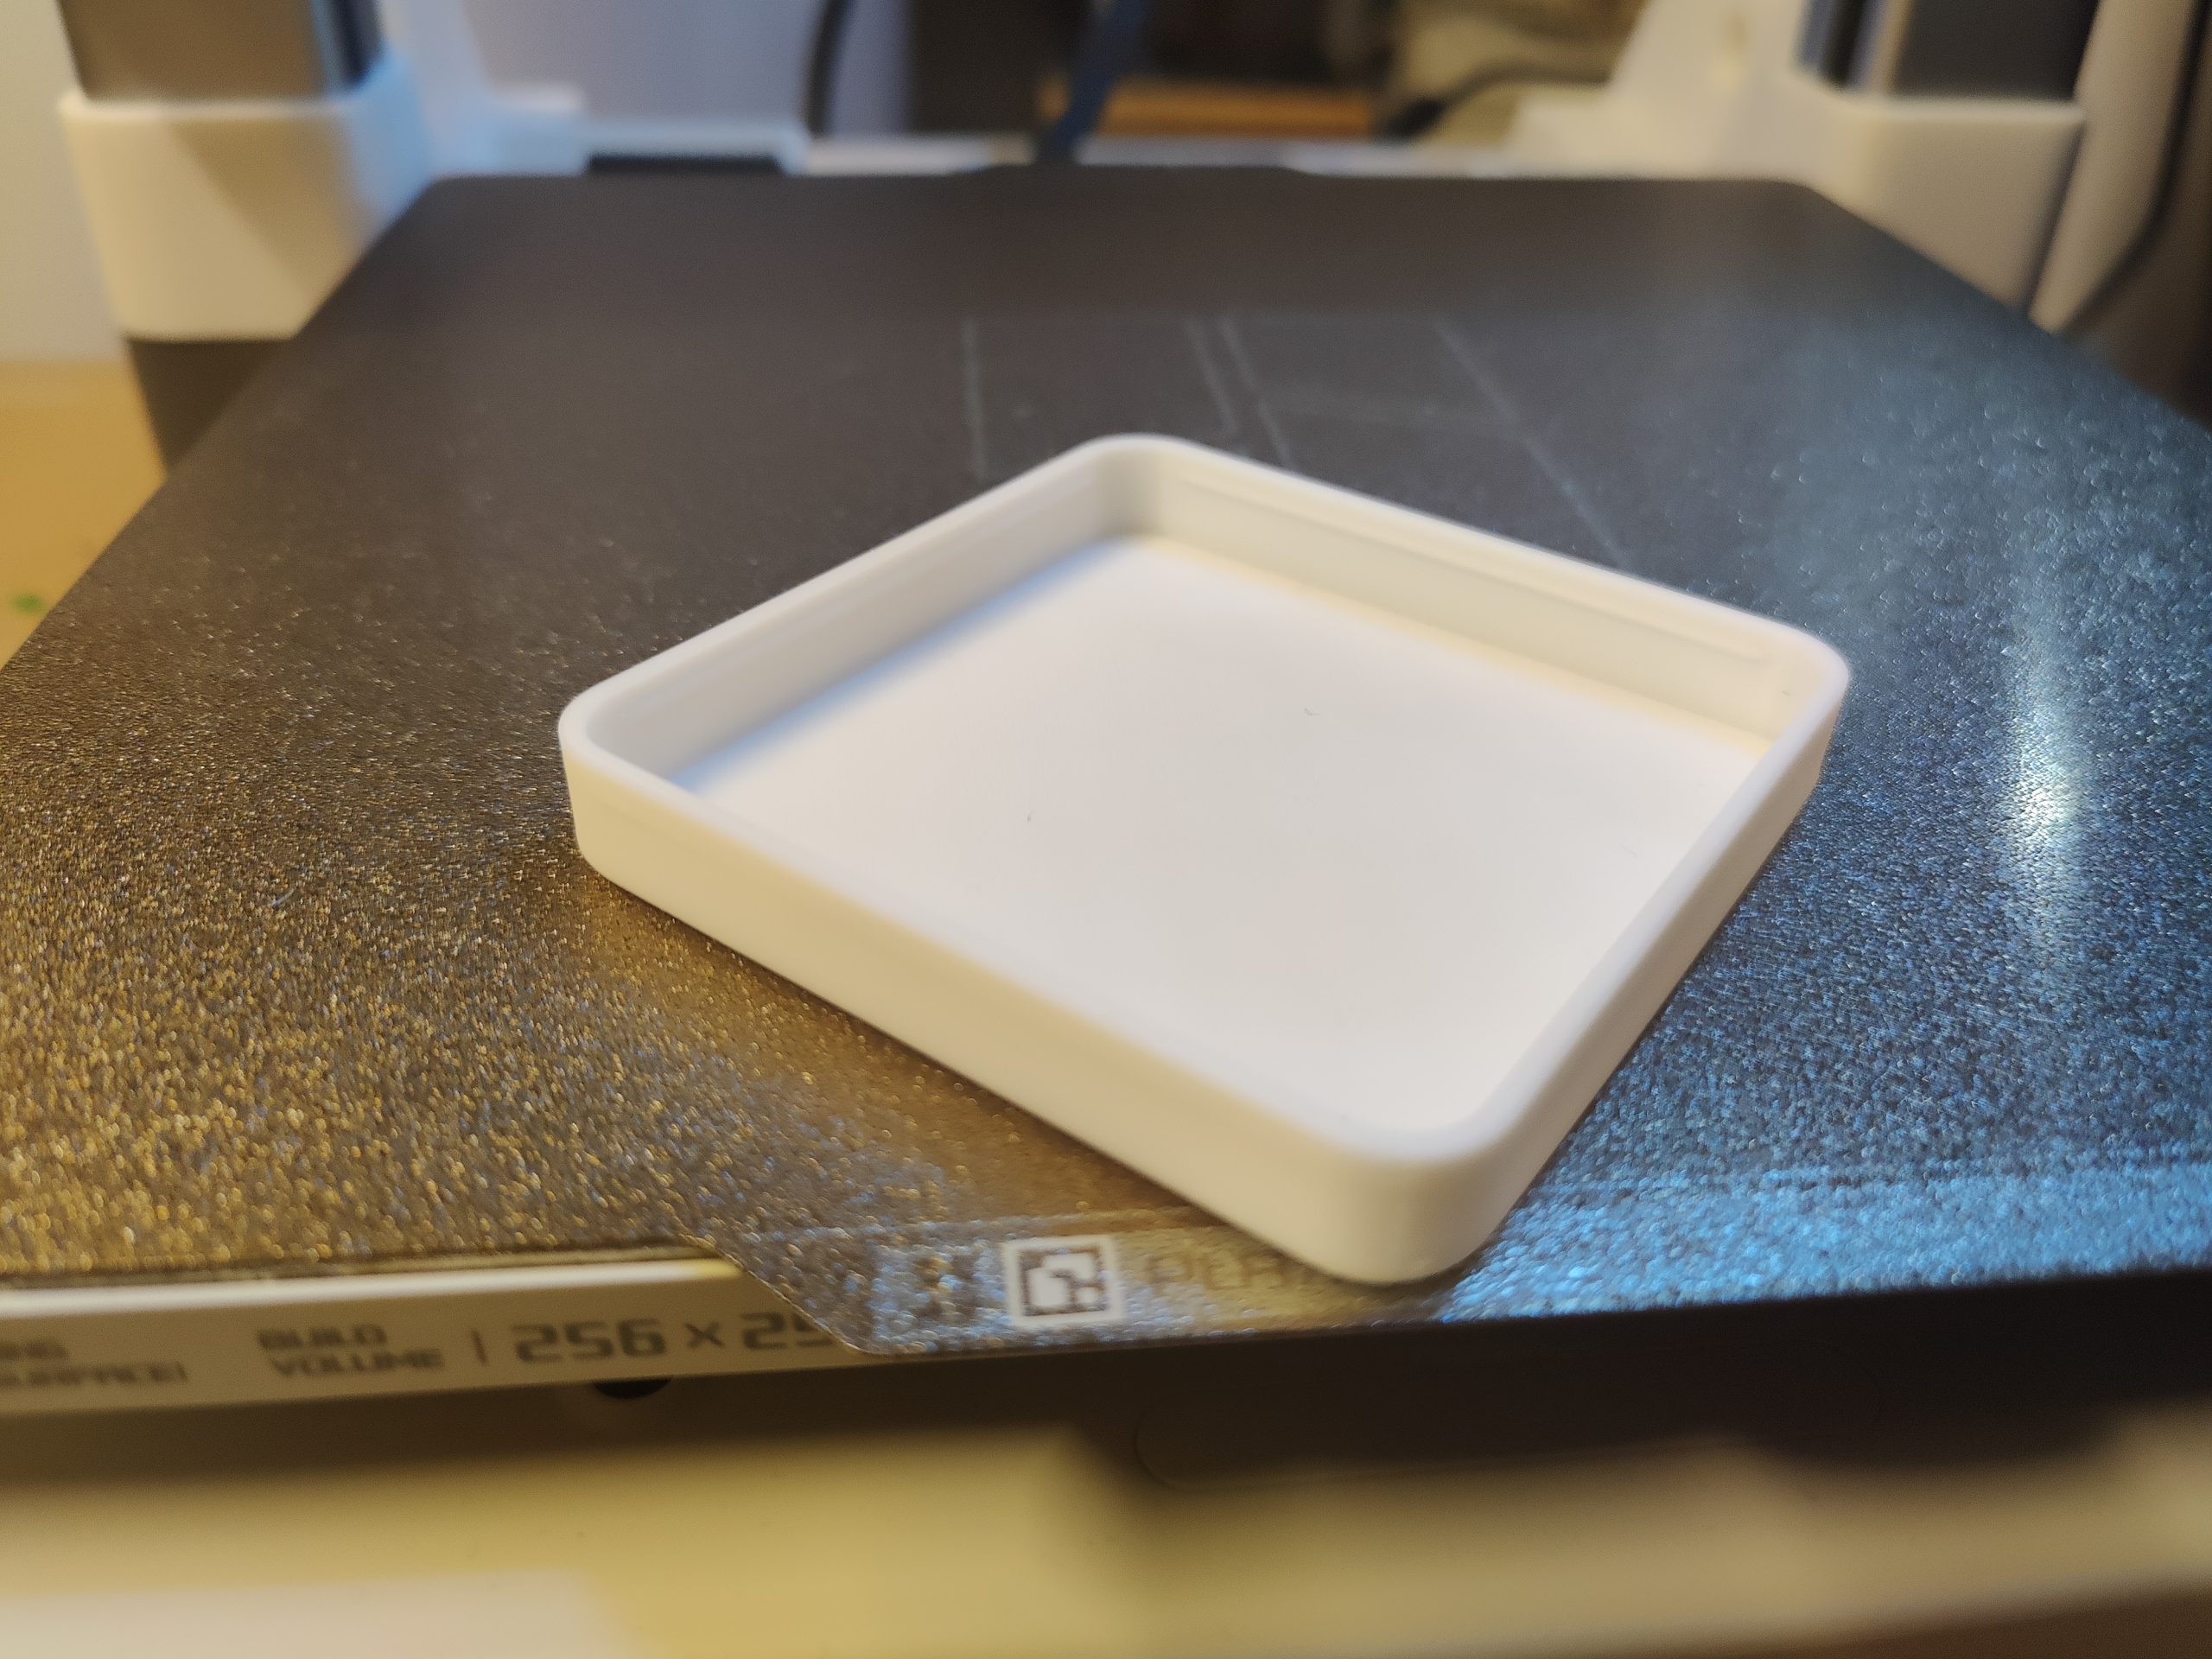
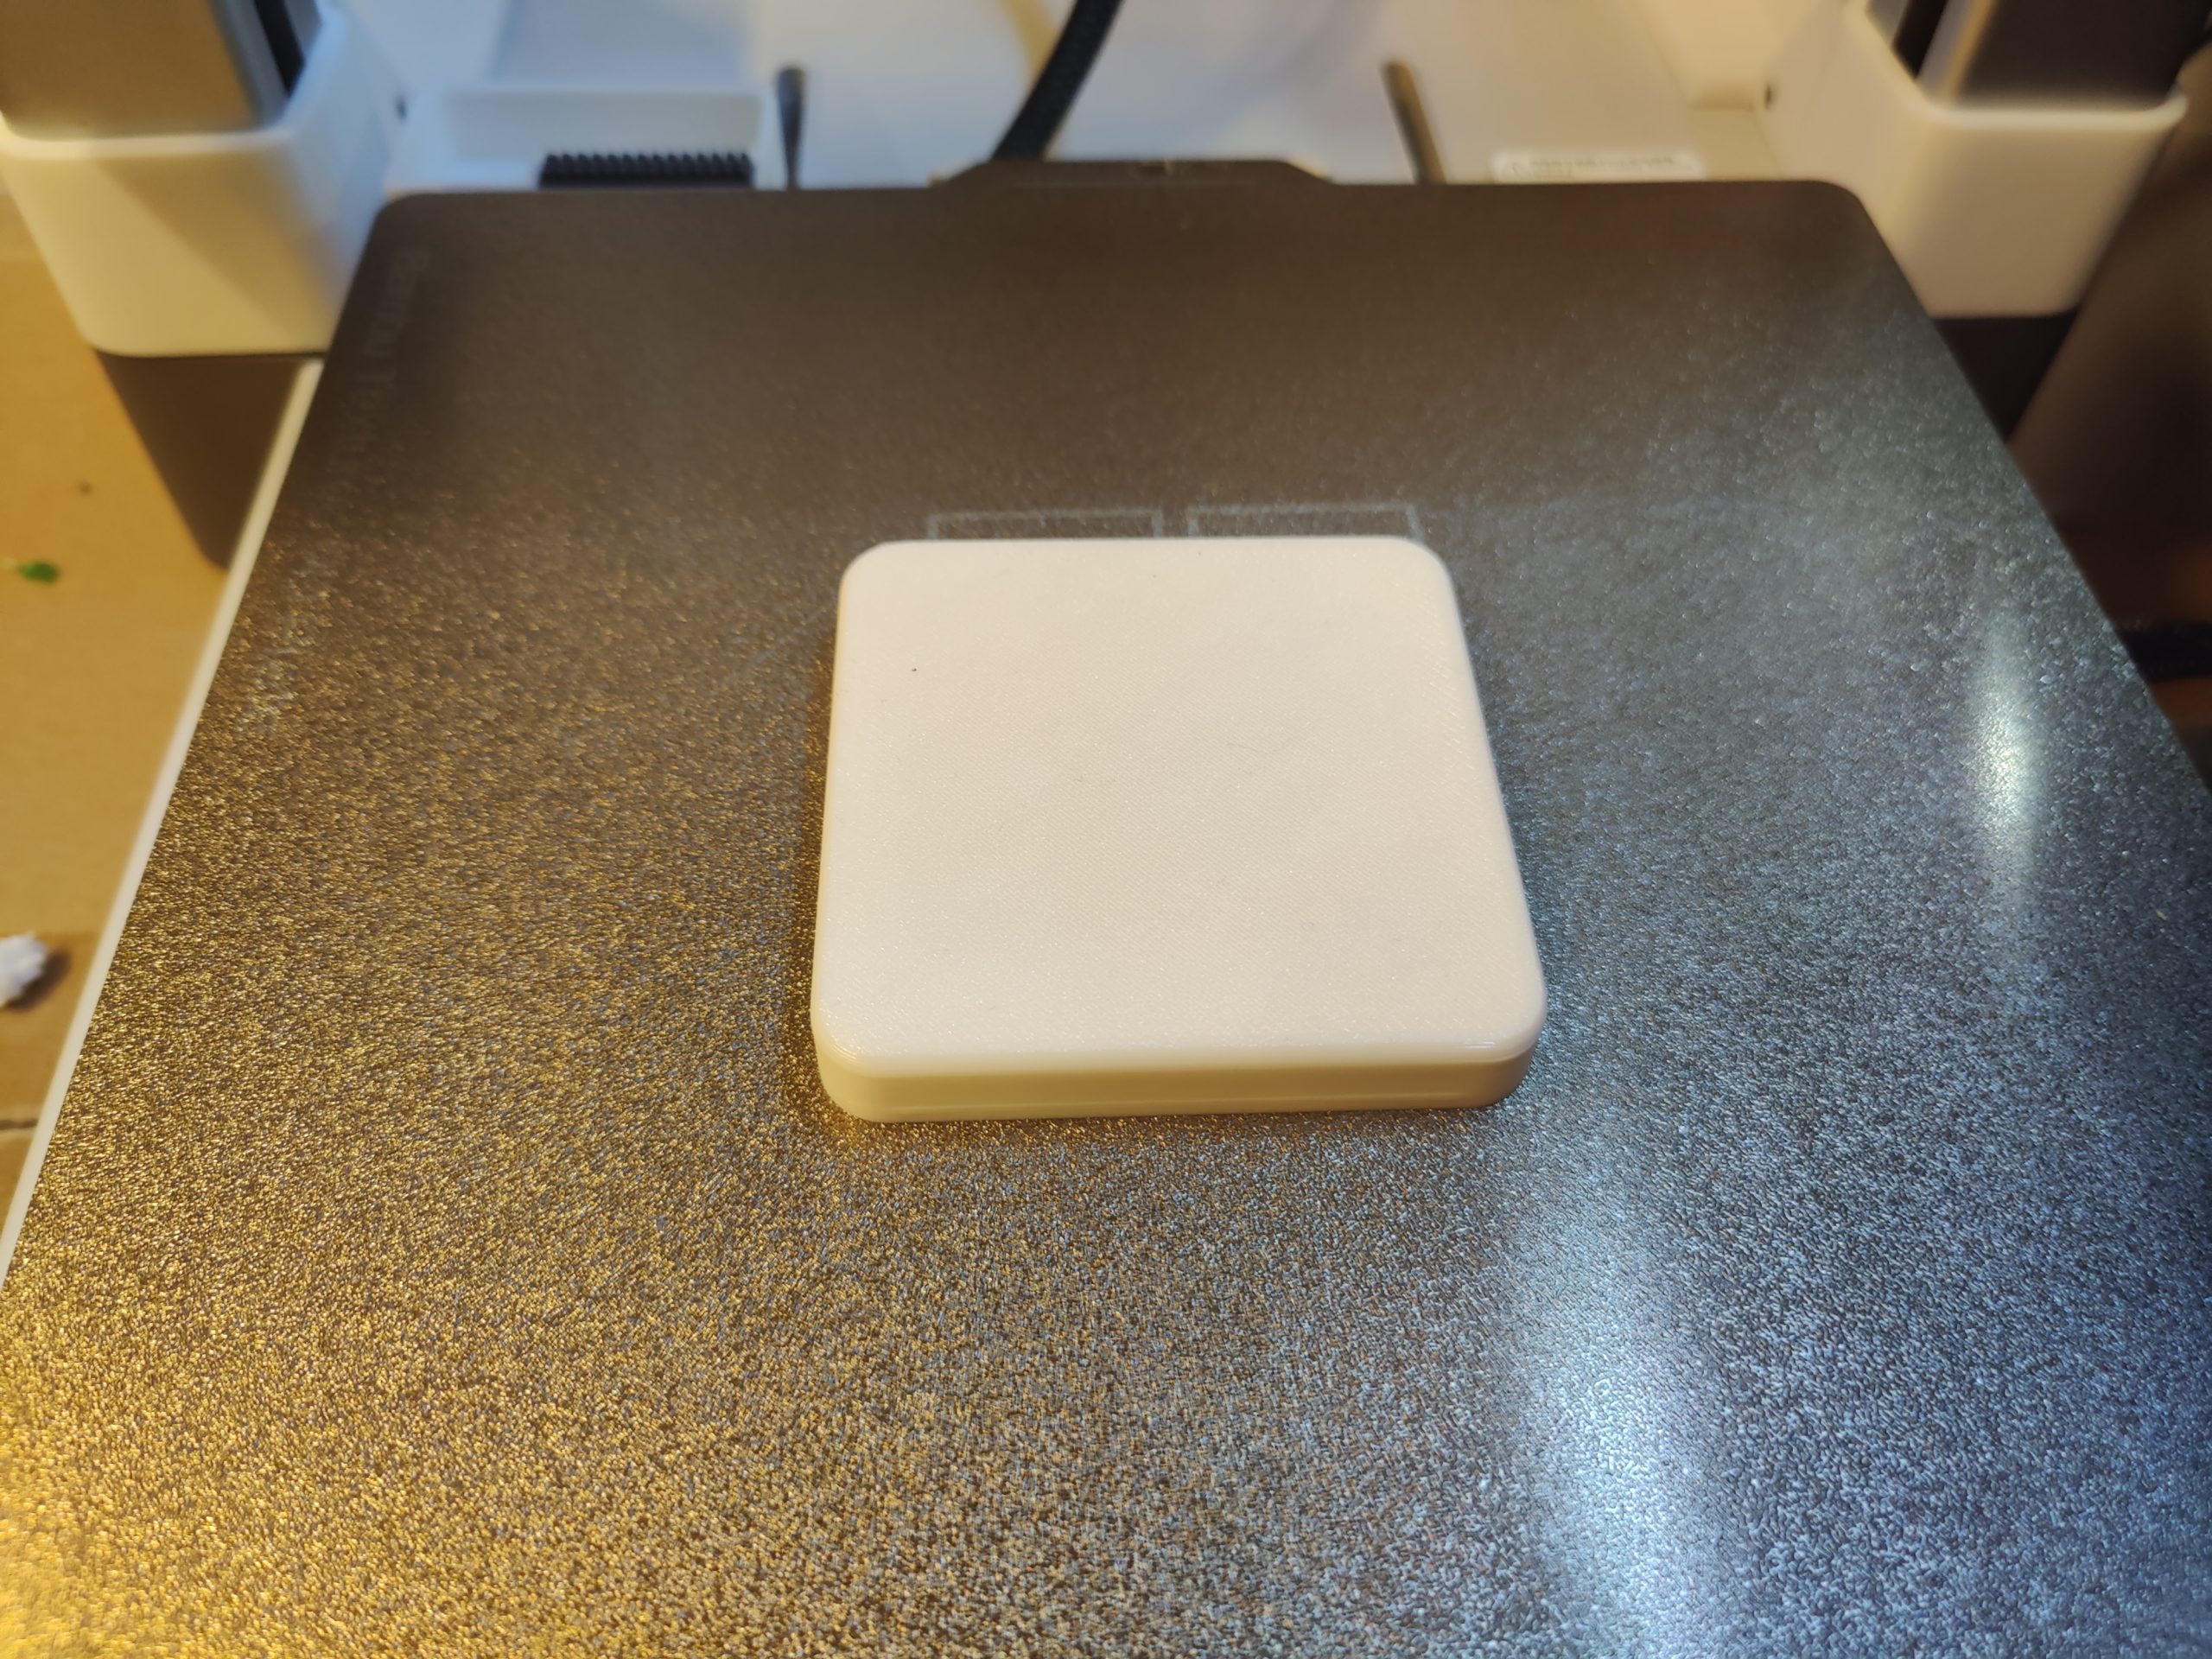
Result Gallery


Publications of the junction box cap model:
- https://makerworld.com/de/models/1135088#profileId-1136132
- https://www.thingiverse.com/thing:6957301
- https://www.printables.com/model/1201459-junction-box-cap
Downloads
- Fusion360 project file (f3d)
- Model file (stl)
- Print profile (3mf)
- Complete project (zip)
- Complete project (7z)
Do something good, make the difference!
If you found this tutorial helpful and would like to do me a favour, it would be really great if you would make a donation to my favourite charitable organization, “Kein Bock auf Nazis” (No desire for Nazis). I donate here regularly myself and am grateful for every Euro / Bitcoin that you can spare. Thank you very much!
Donation-URL: https://www.keinbockaufnazis.de/spenden#spenden
If you want to show your opposition to the right-wing tendencies that are taking hold in our country, take a look at the “Kein Bock auf Nazis” (No desire for Nazis) webshop. Every purchase also contributes to the fight against the right-wing plague.
Webshop-URL: https://kban.hamburgrecords.com/
Legal hint
* As an Amazon partner, I earn money from qualified sales.